I’ve always been interested in space and astronomy, so it was only natural that I would eventually discover a hobby that lets me combine three of my passions: space, photography, and computers. Modern Astrophotography has a healthy does of all three elements, making it both appealing and challenging.
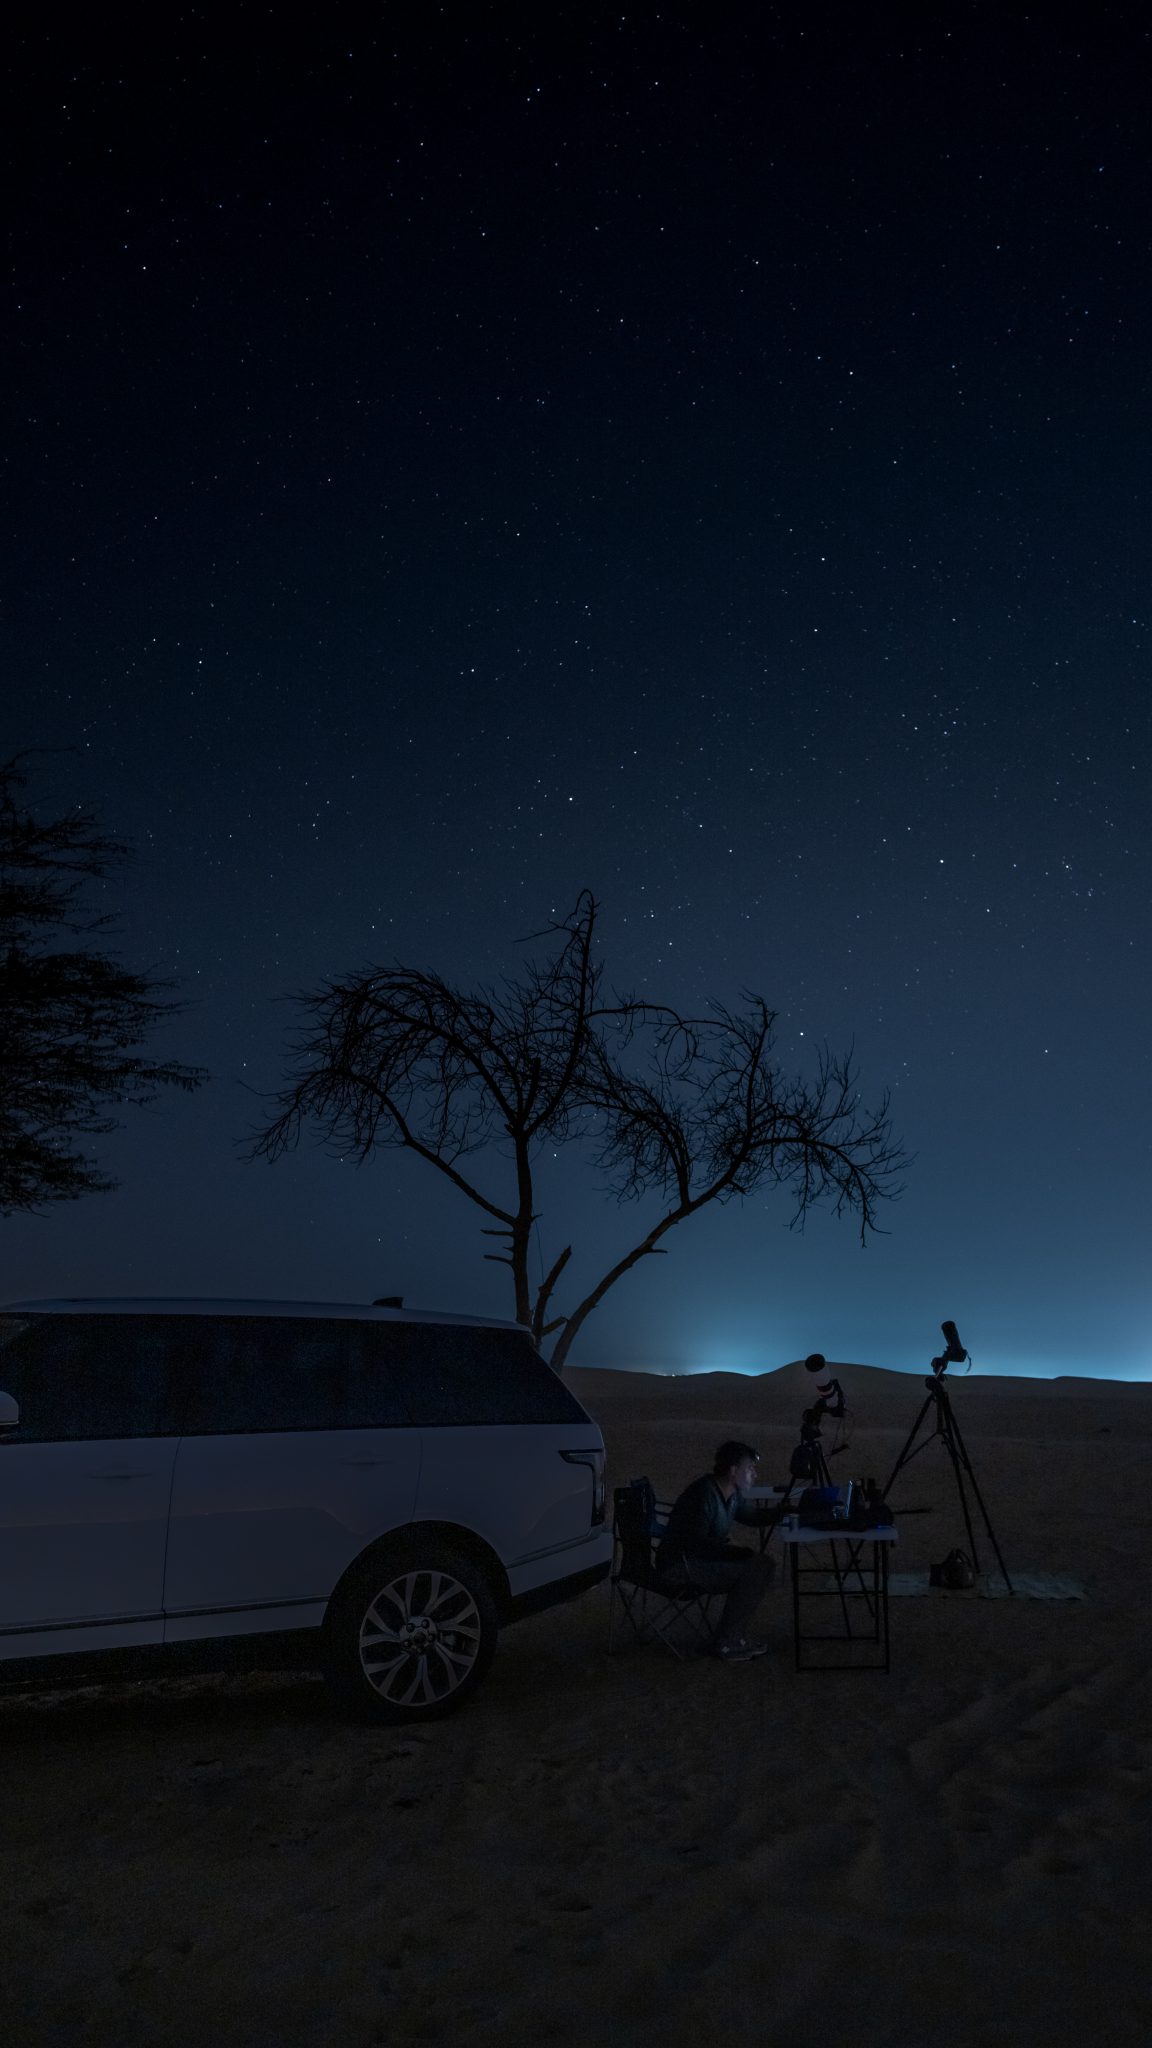
I started this new hobby at the beginning of this year, not ideal timing considering the movement restrictions that were soon put into place due to the COVID-19 pandemic. Having said that, being forced to practice from home under the hazy light polluted skies of downtown Dubai in the summer certainly accelerated my learning curve. However, before the restrictions came into force I was able to experience a few evenings of Astrophotography under the darker skies of the Al Qudra Desert about 45 minutes from home.
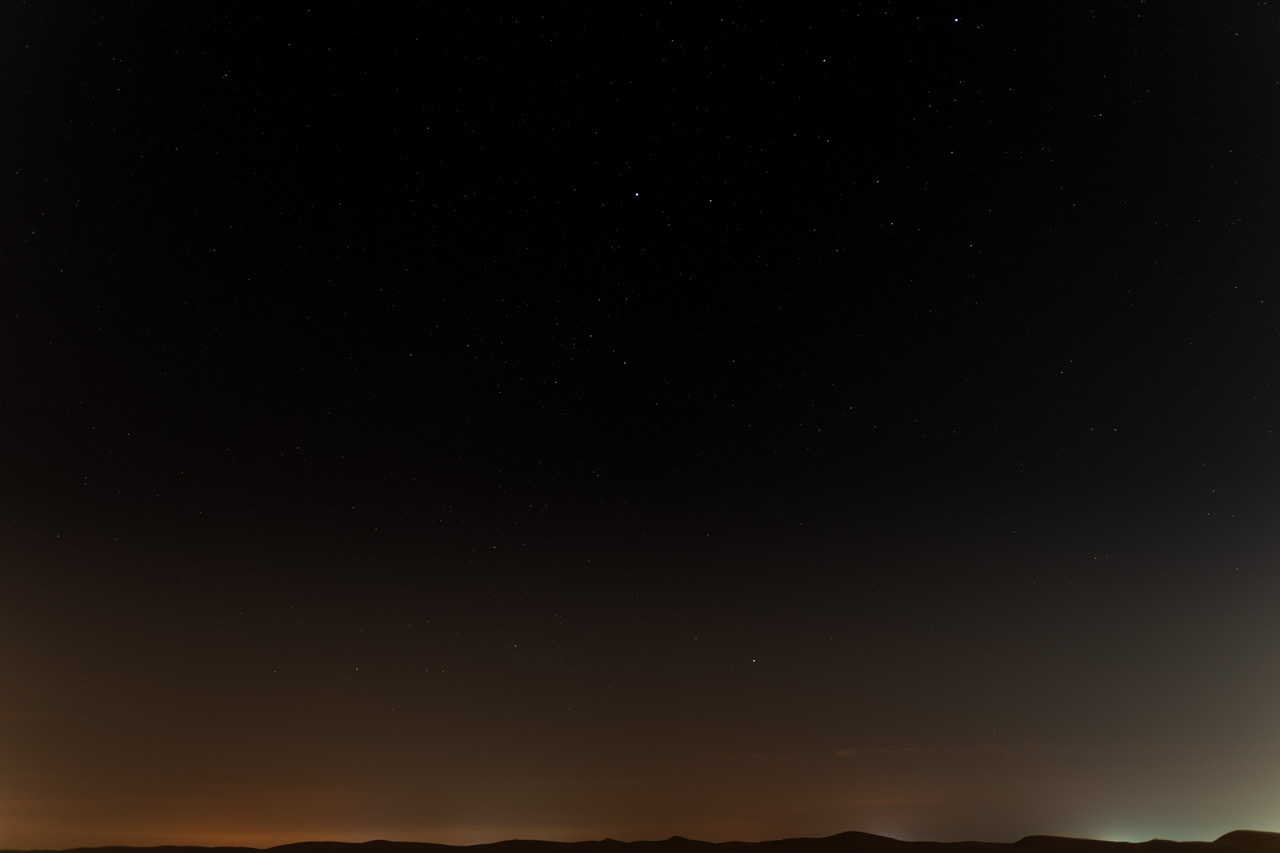
My first outing was spent trying to find the right spot to take the photos, figuring out how to setup my equipment in the dark, and pointing the camera up at the sky and seeing what happened. As you can see from these images below, they were pretty bad, but I was still intrigued enough to make a second attempt a few days later.
The starry skies of Al Qudra Desert on the outskirts of Dubai 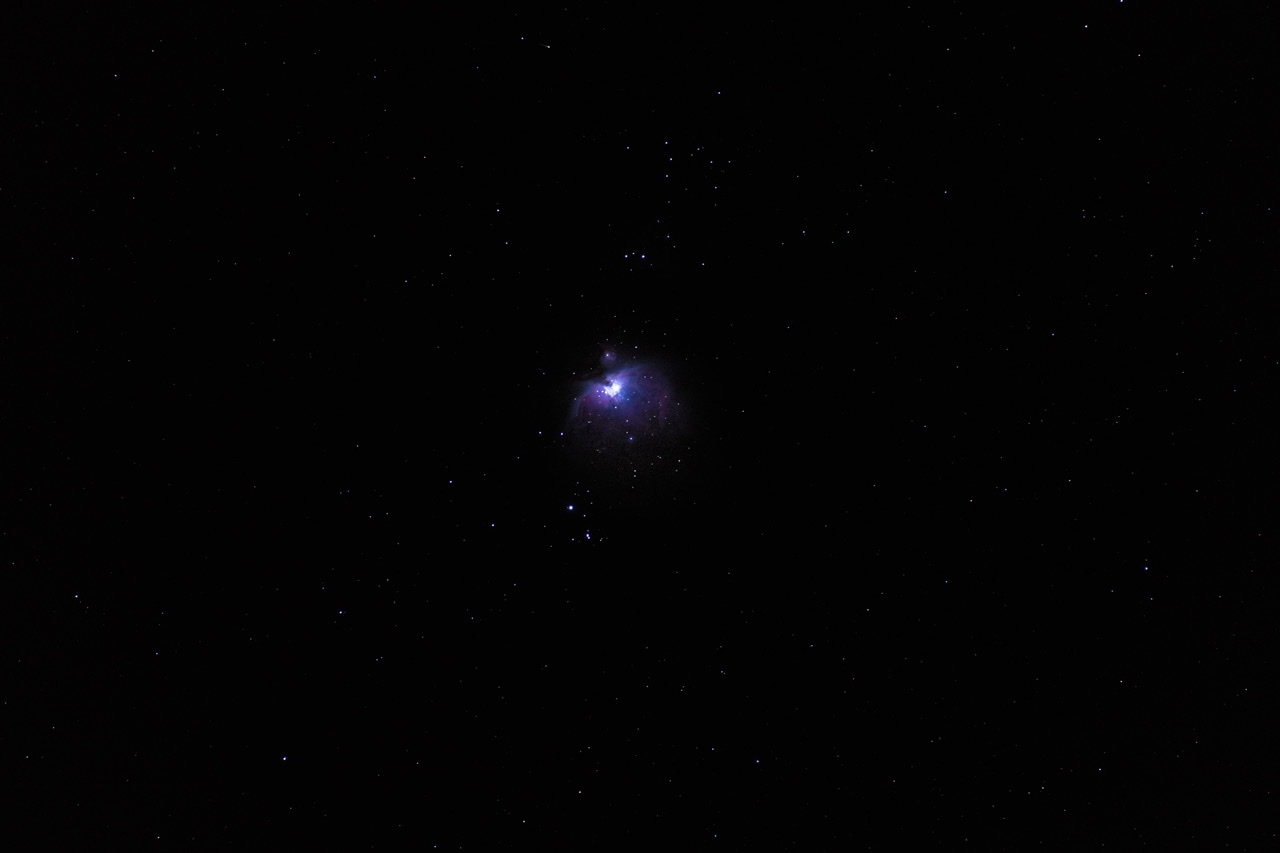
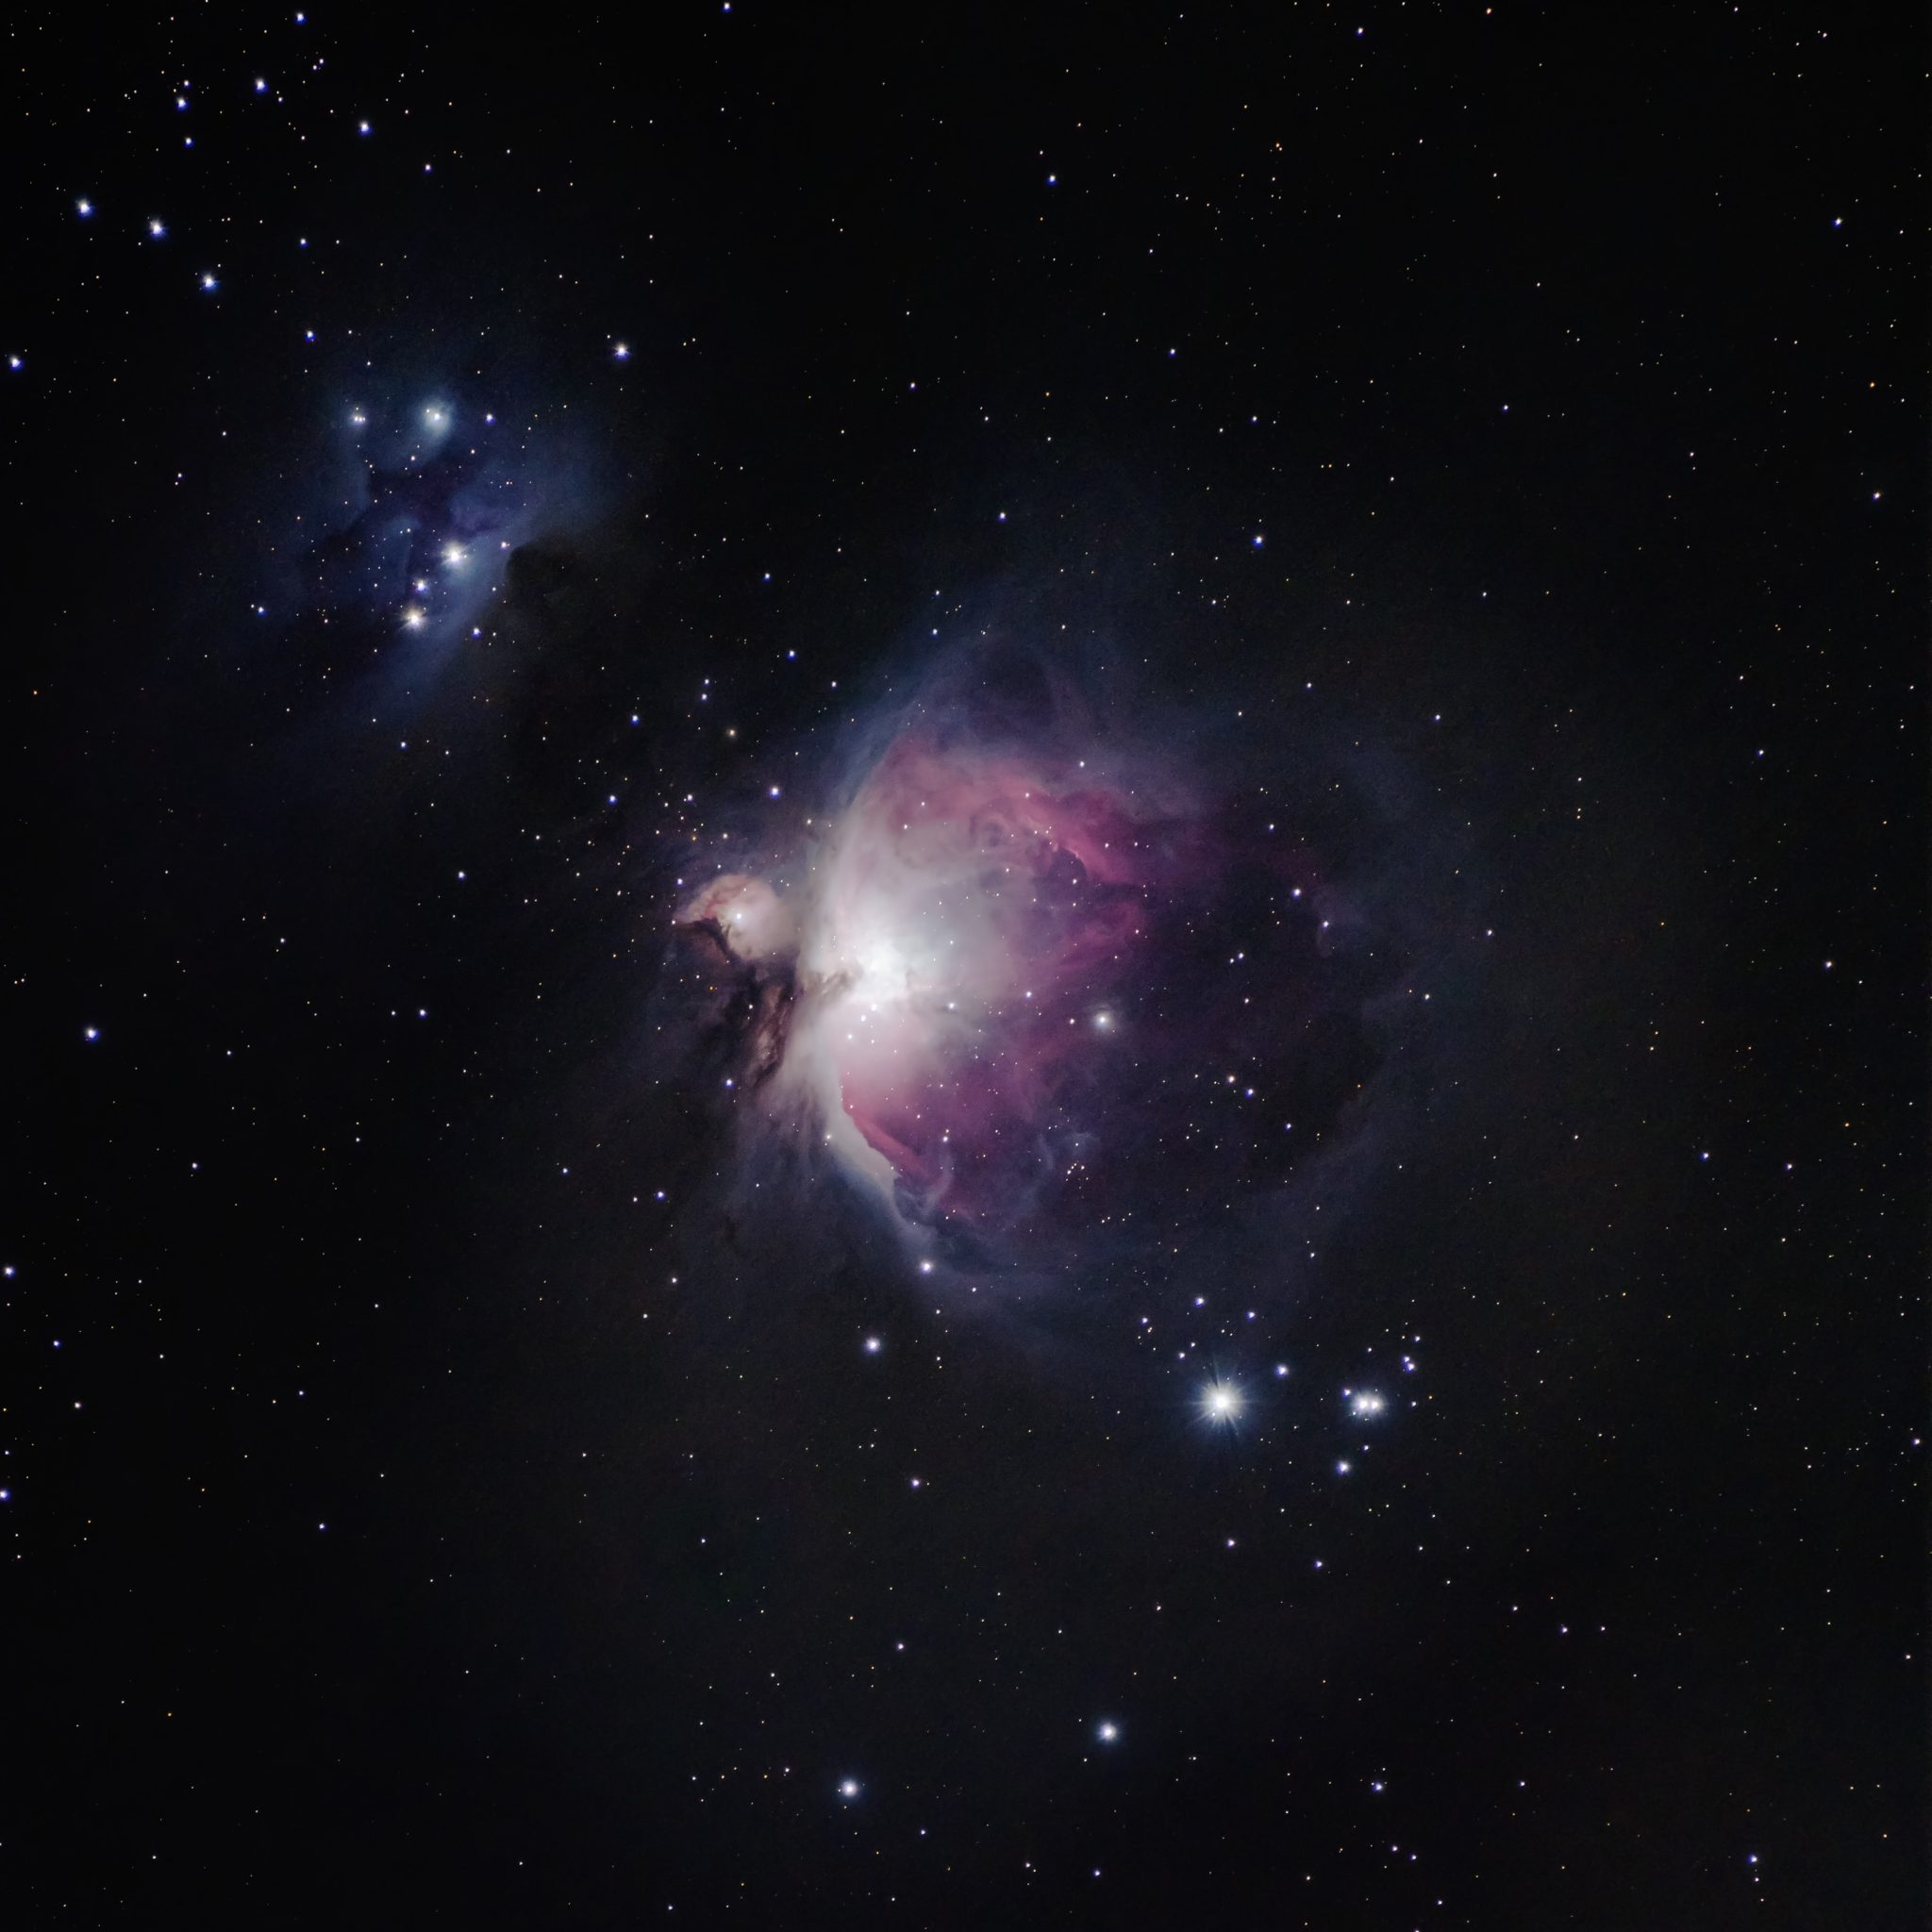
My first photograph of the Orion Nebula 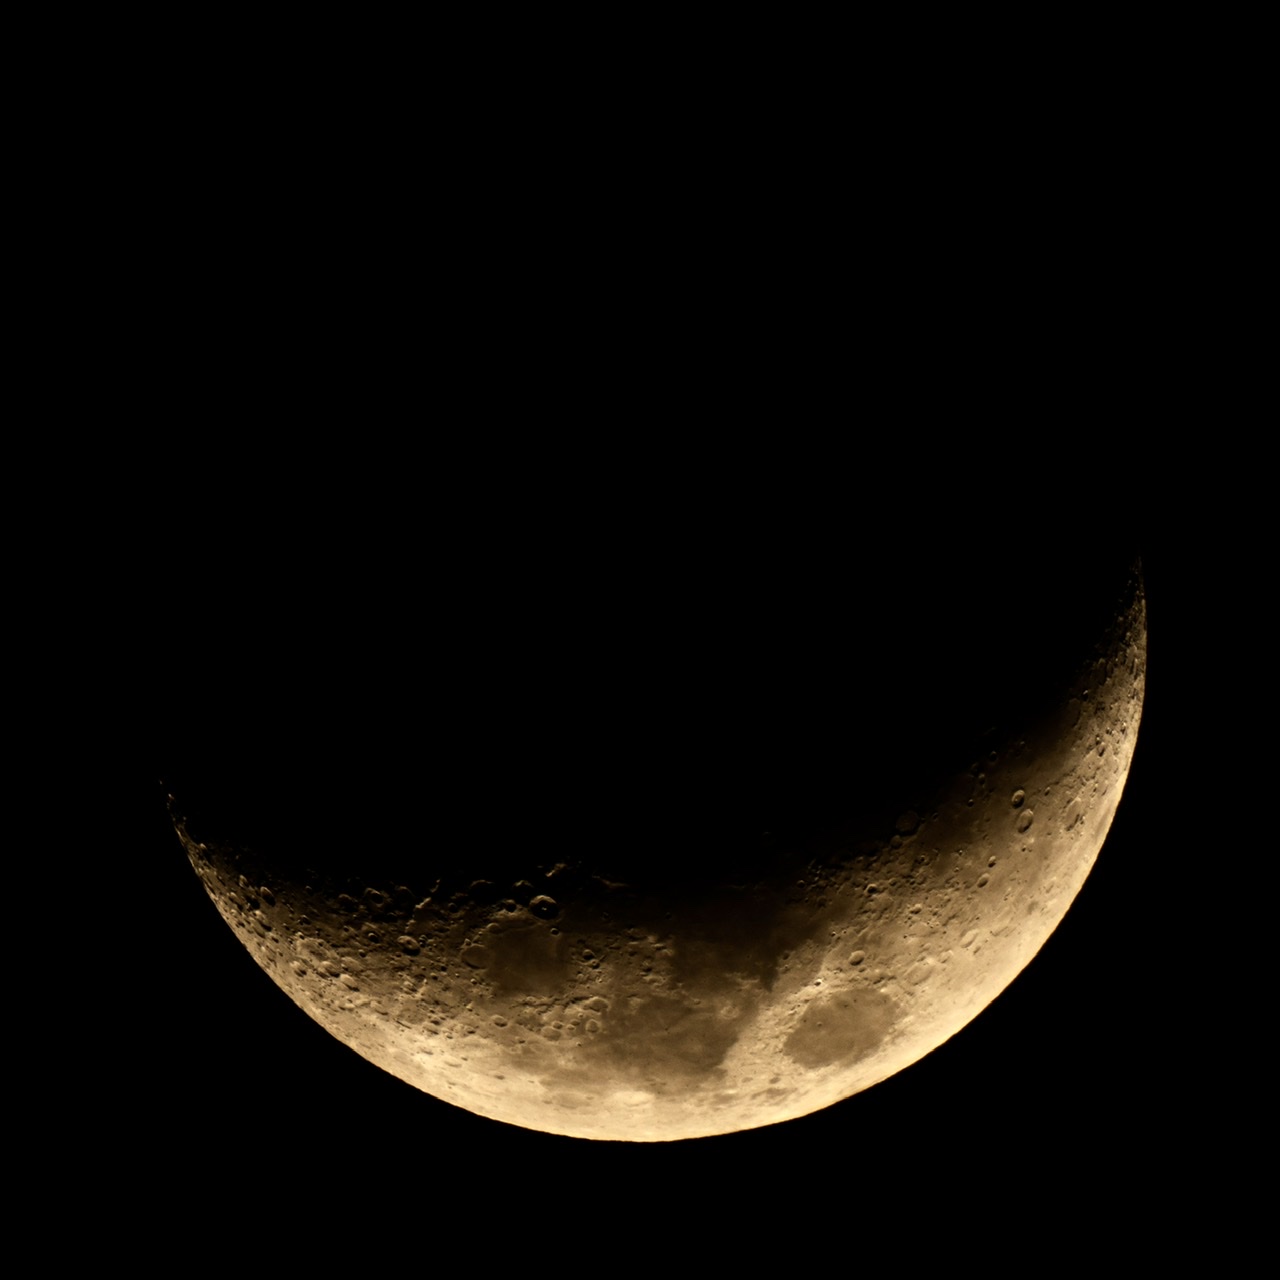
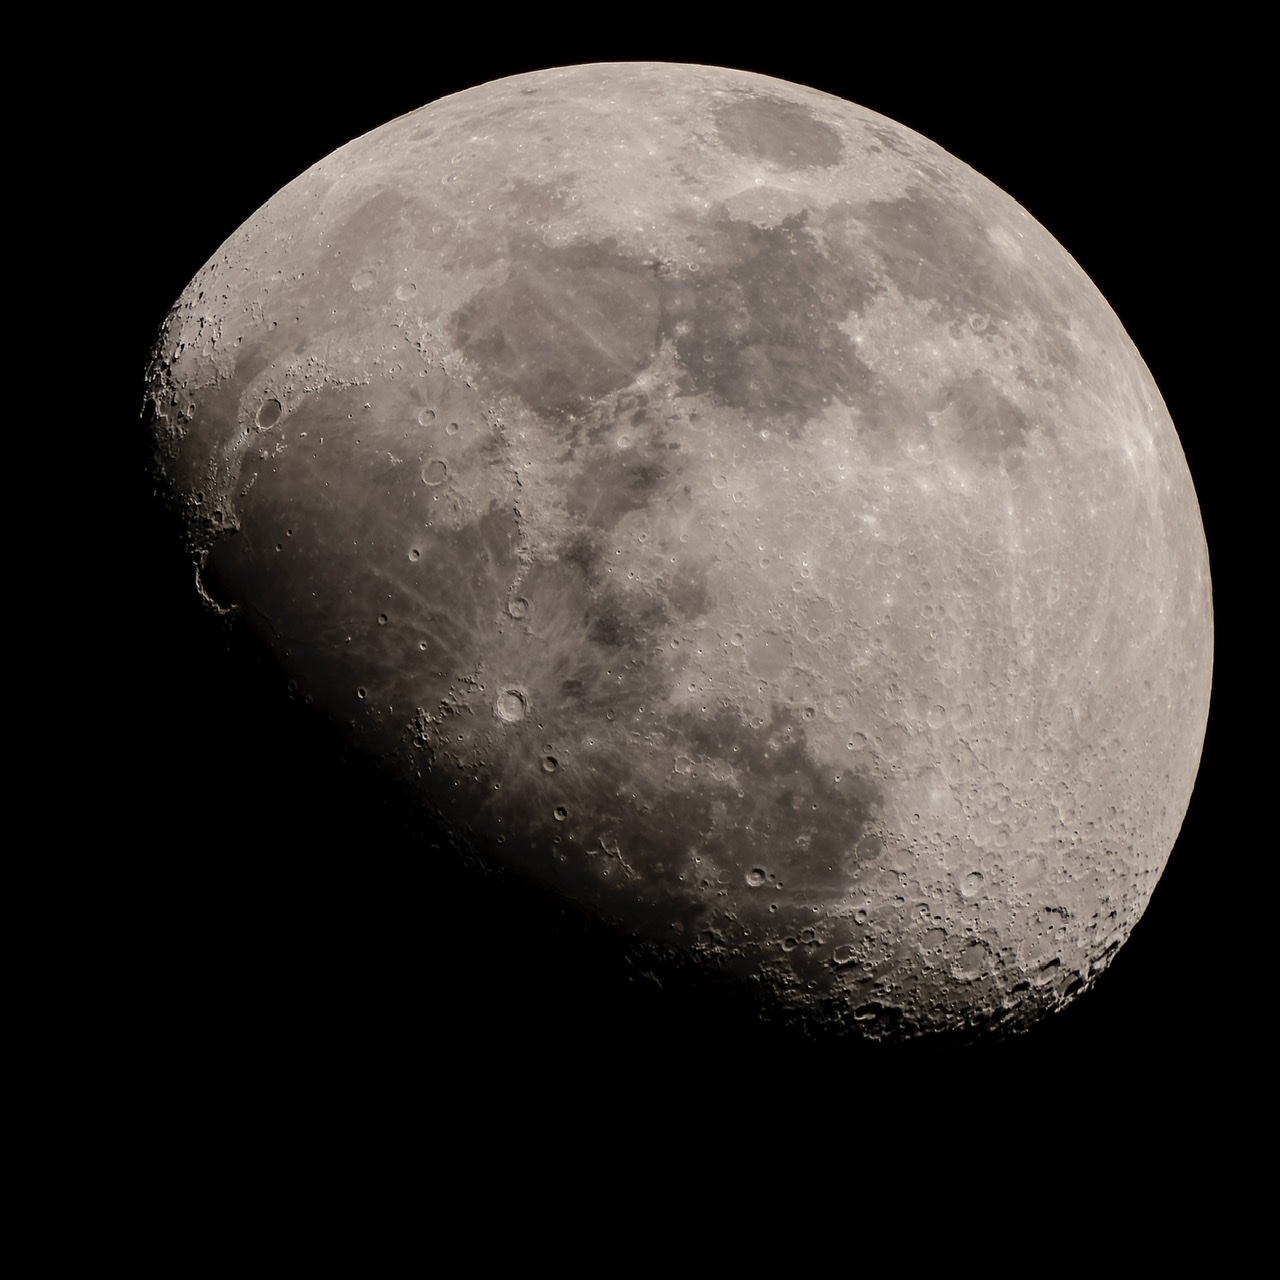
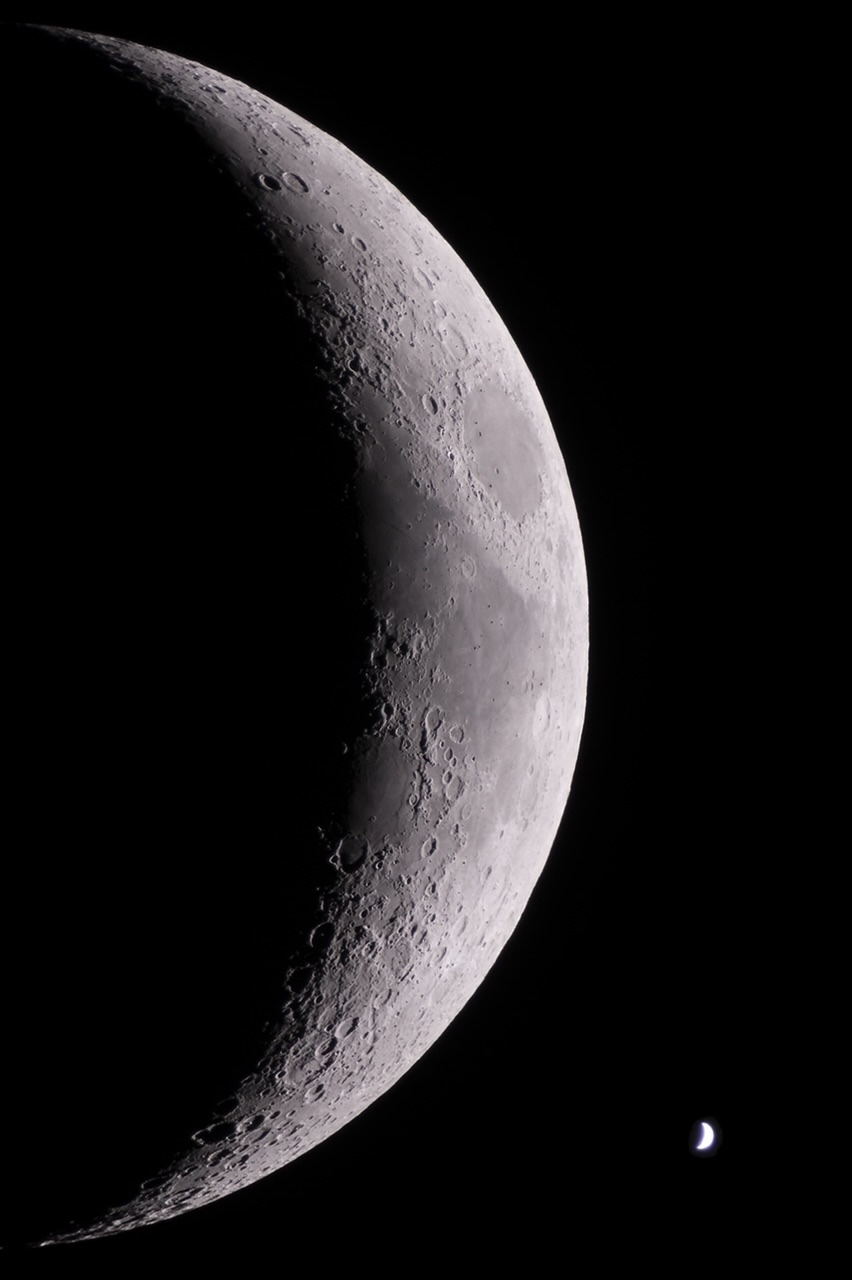
My first close up photograph of the moon 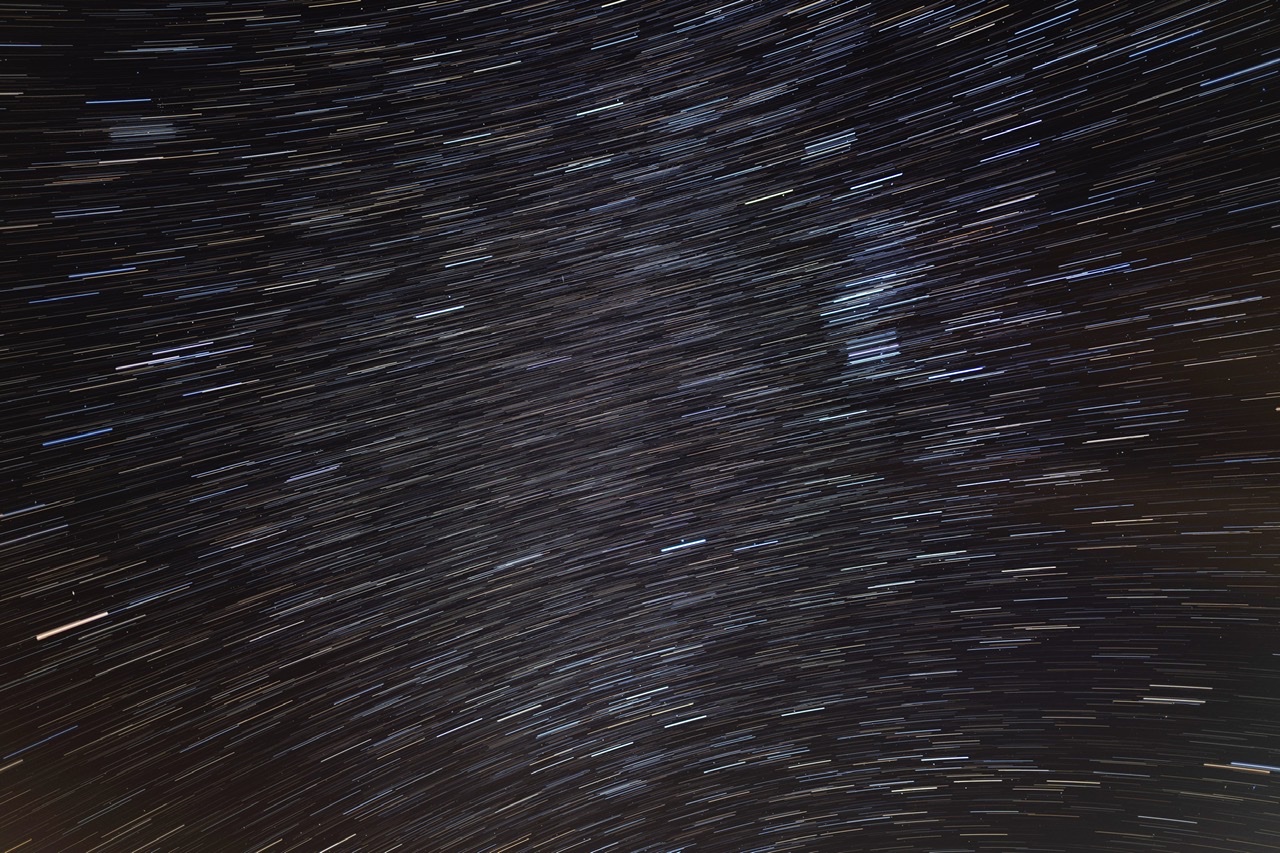
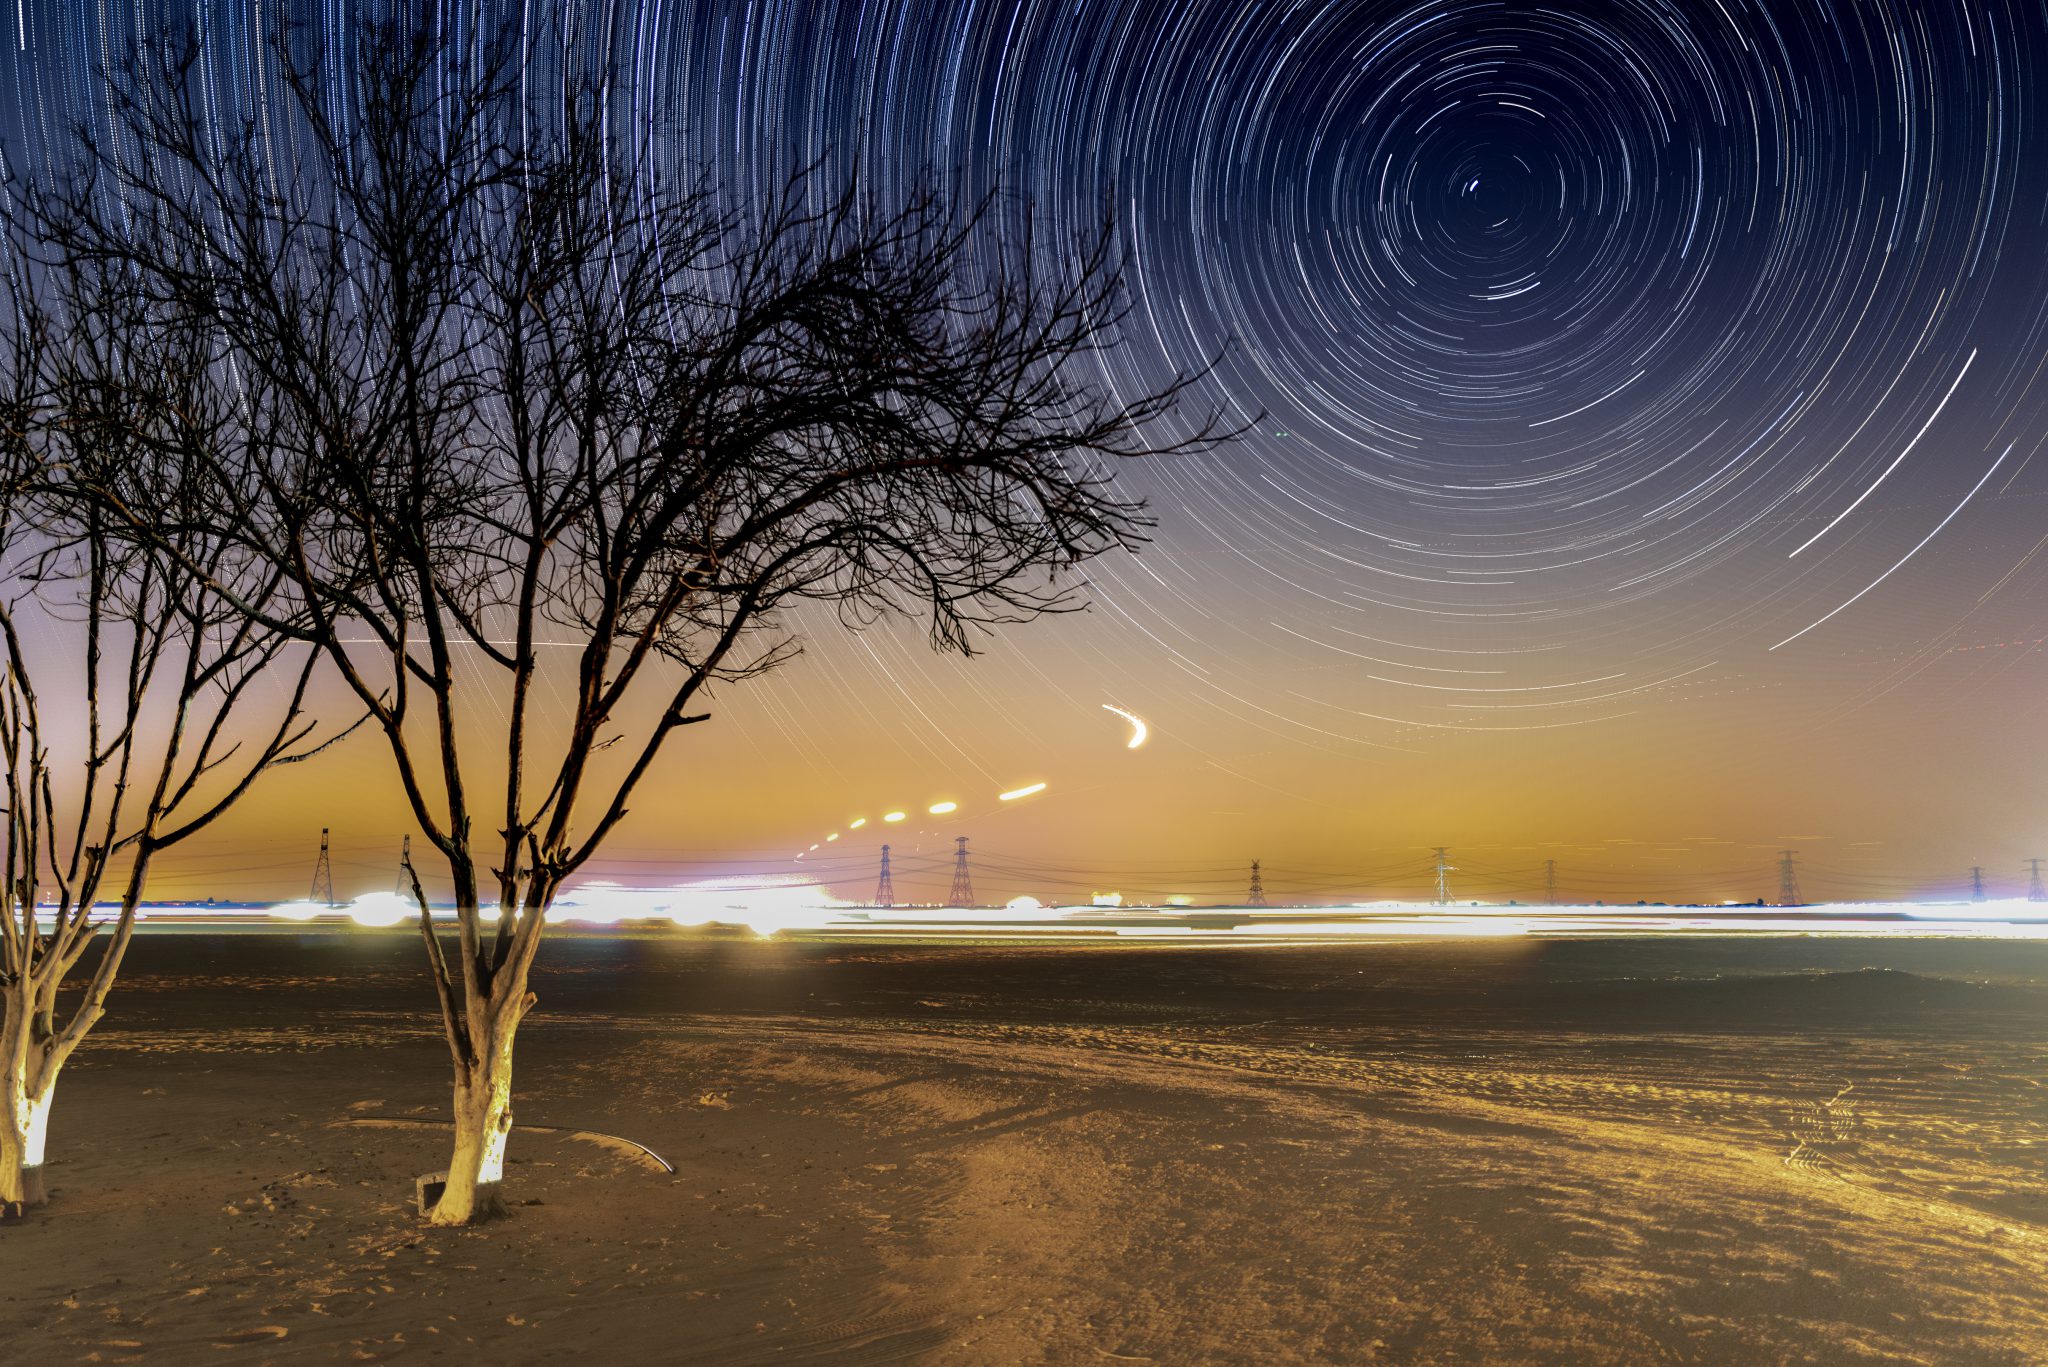
Test photograph of star trails…not impressive but it helped me practice processing these types of composite photos
On my second outing I concentrated on capturing star trails. The basic idea is to use a wide angle lens and capture a long exposure of a starry sky to create trails as the Earth rotates. This image below was captured using my Leica Q2 with a fixed 28mm ƒ/1.7 lens. I captured nearly 200 exposures of 20 seconds each and then used a Mac application called StarStaX to combine the exposures into a single image, while enhancing the star trails themselves. This was necessary because this camera has no way to disable Long Exposure Noise Reduction (LENR).
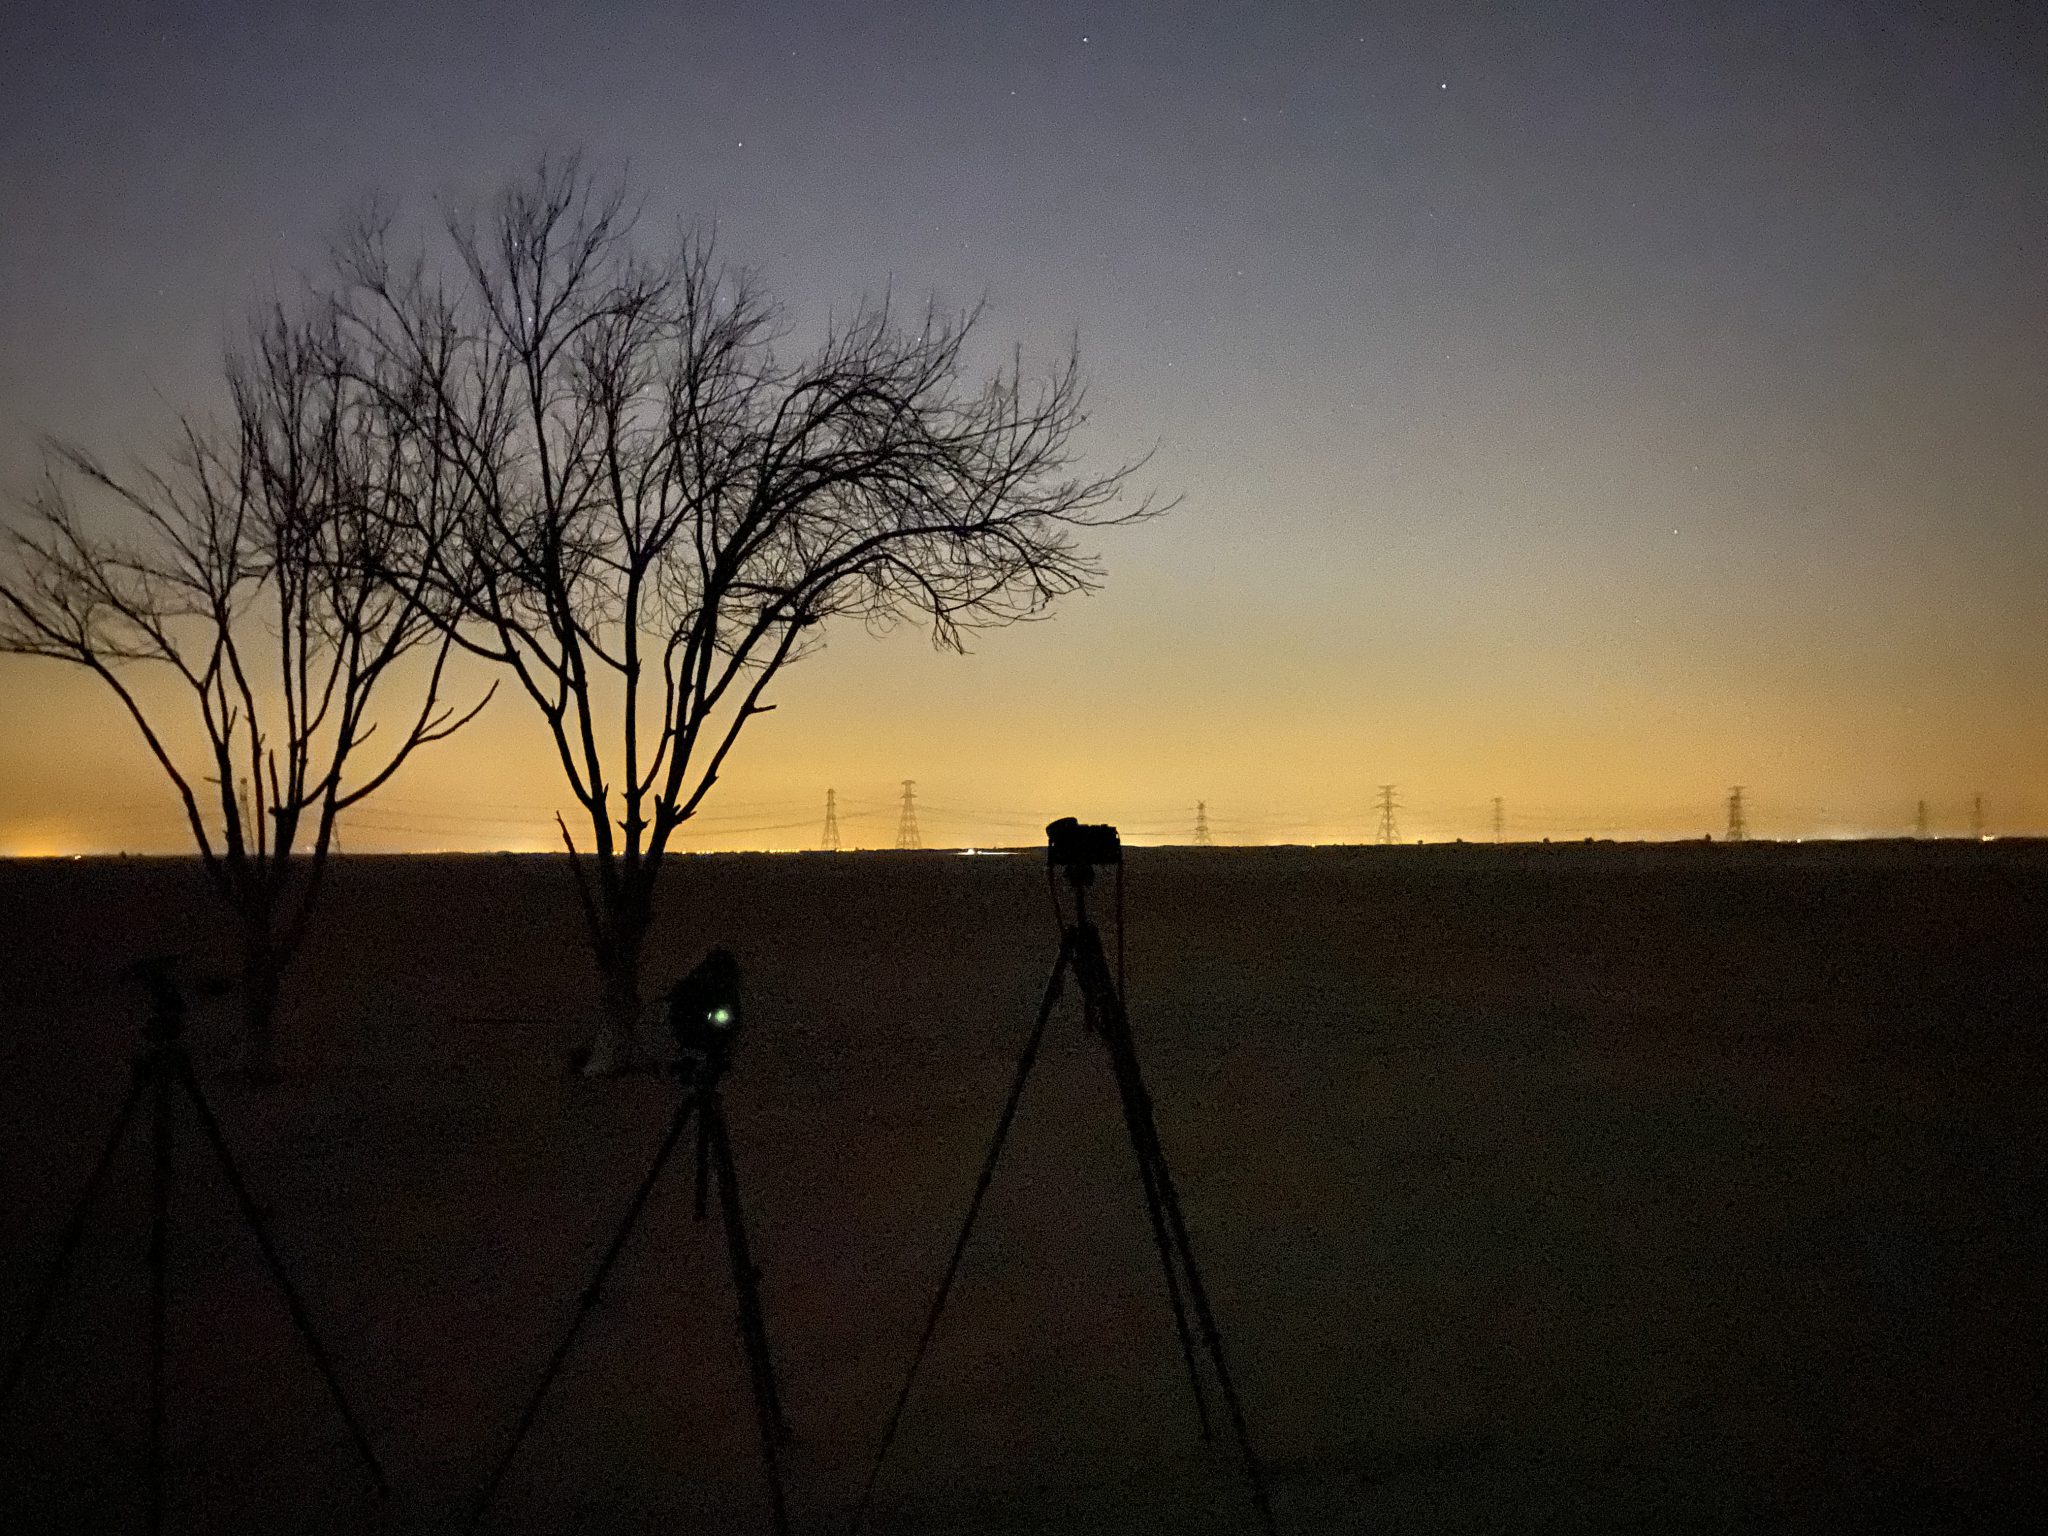
Here’s a photo of the fairly basic equipment setup I used to capture this image:
I was also keen to try my hand at photographing deep sky objects (DSO), such as the Orion Nebula. The great thing about this DSO is that it is large and bright. So much so that even from light polluted downtown Dubai you can just make it out with the naked eye. From the desert, it is quite easy to photograph without any specialised equipment. In my case, I used a Sony α7R IV mirrorless camera, a Sony FE 200–600mm F5.6-6.3 G OSS telephoto lens, and an iOptron SkyGuider Pro star tracker mount. The star tracker corrects for the rotation of the Earth and allows me to take longer exposures of deep sky objects.

With the help of a friend who had more experience than me, I was able to capture the following image of the Orion Nebula on my second outing:
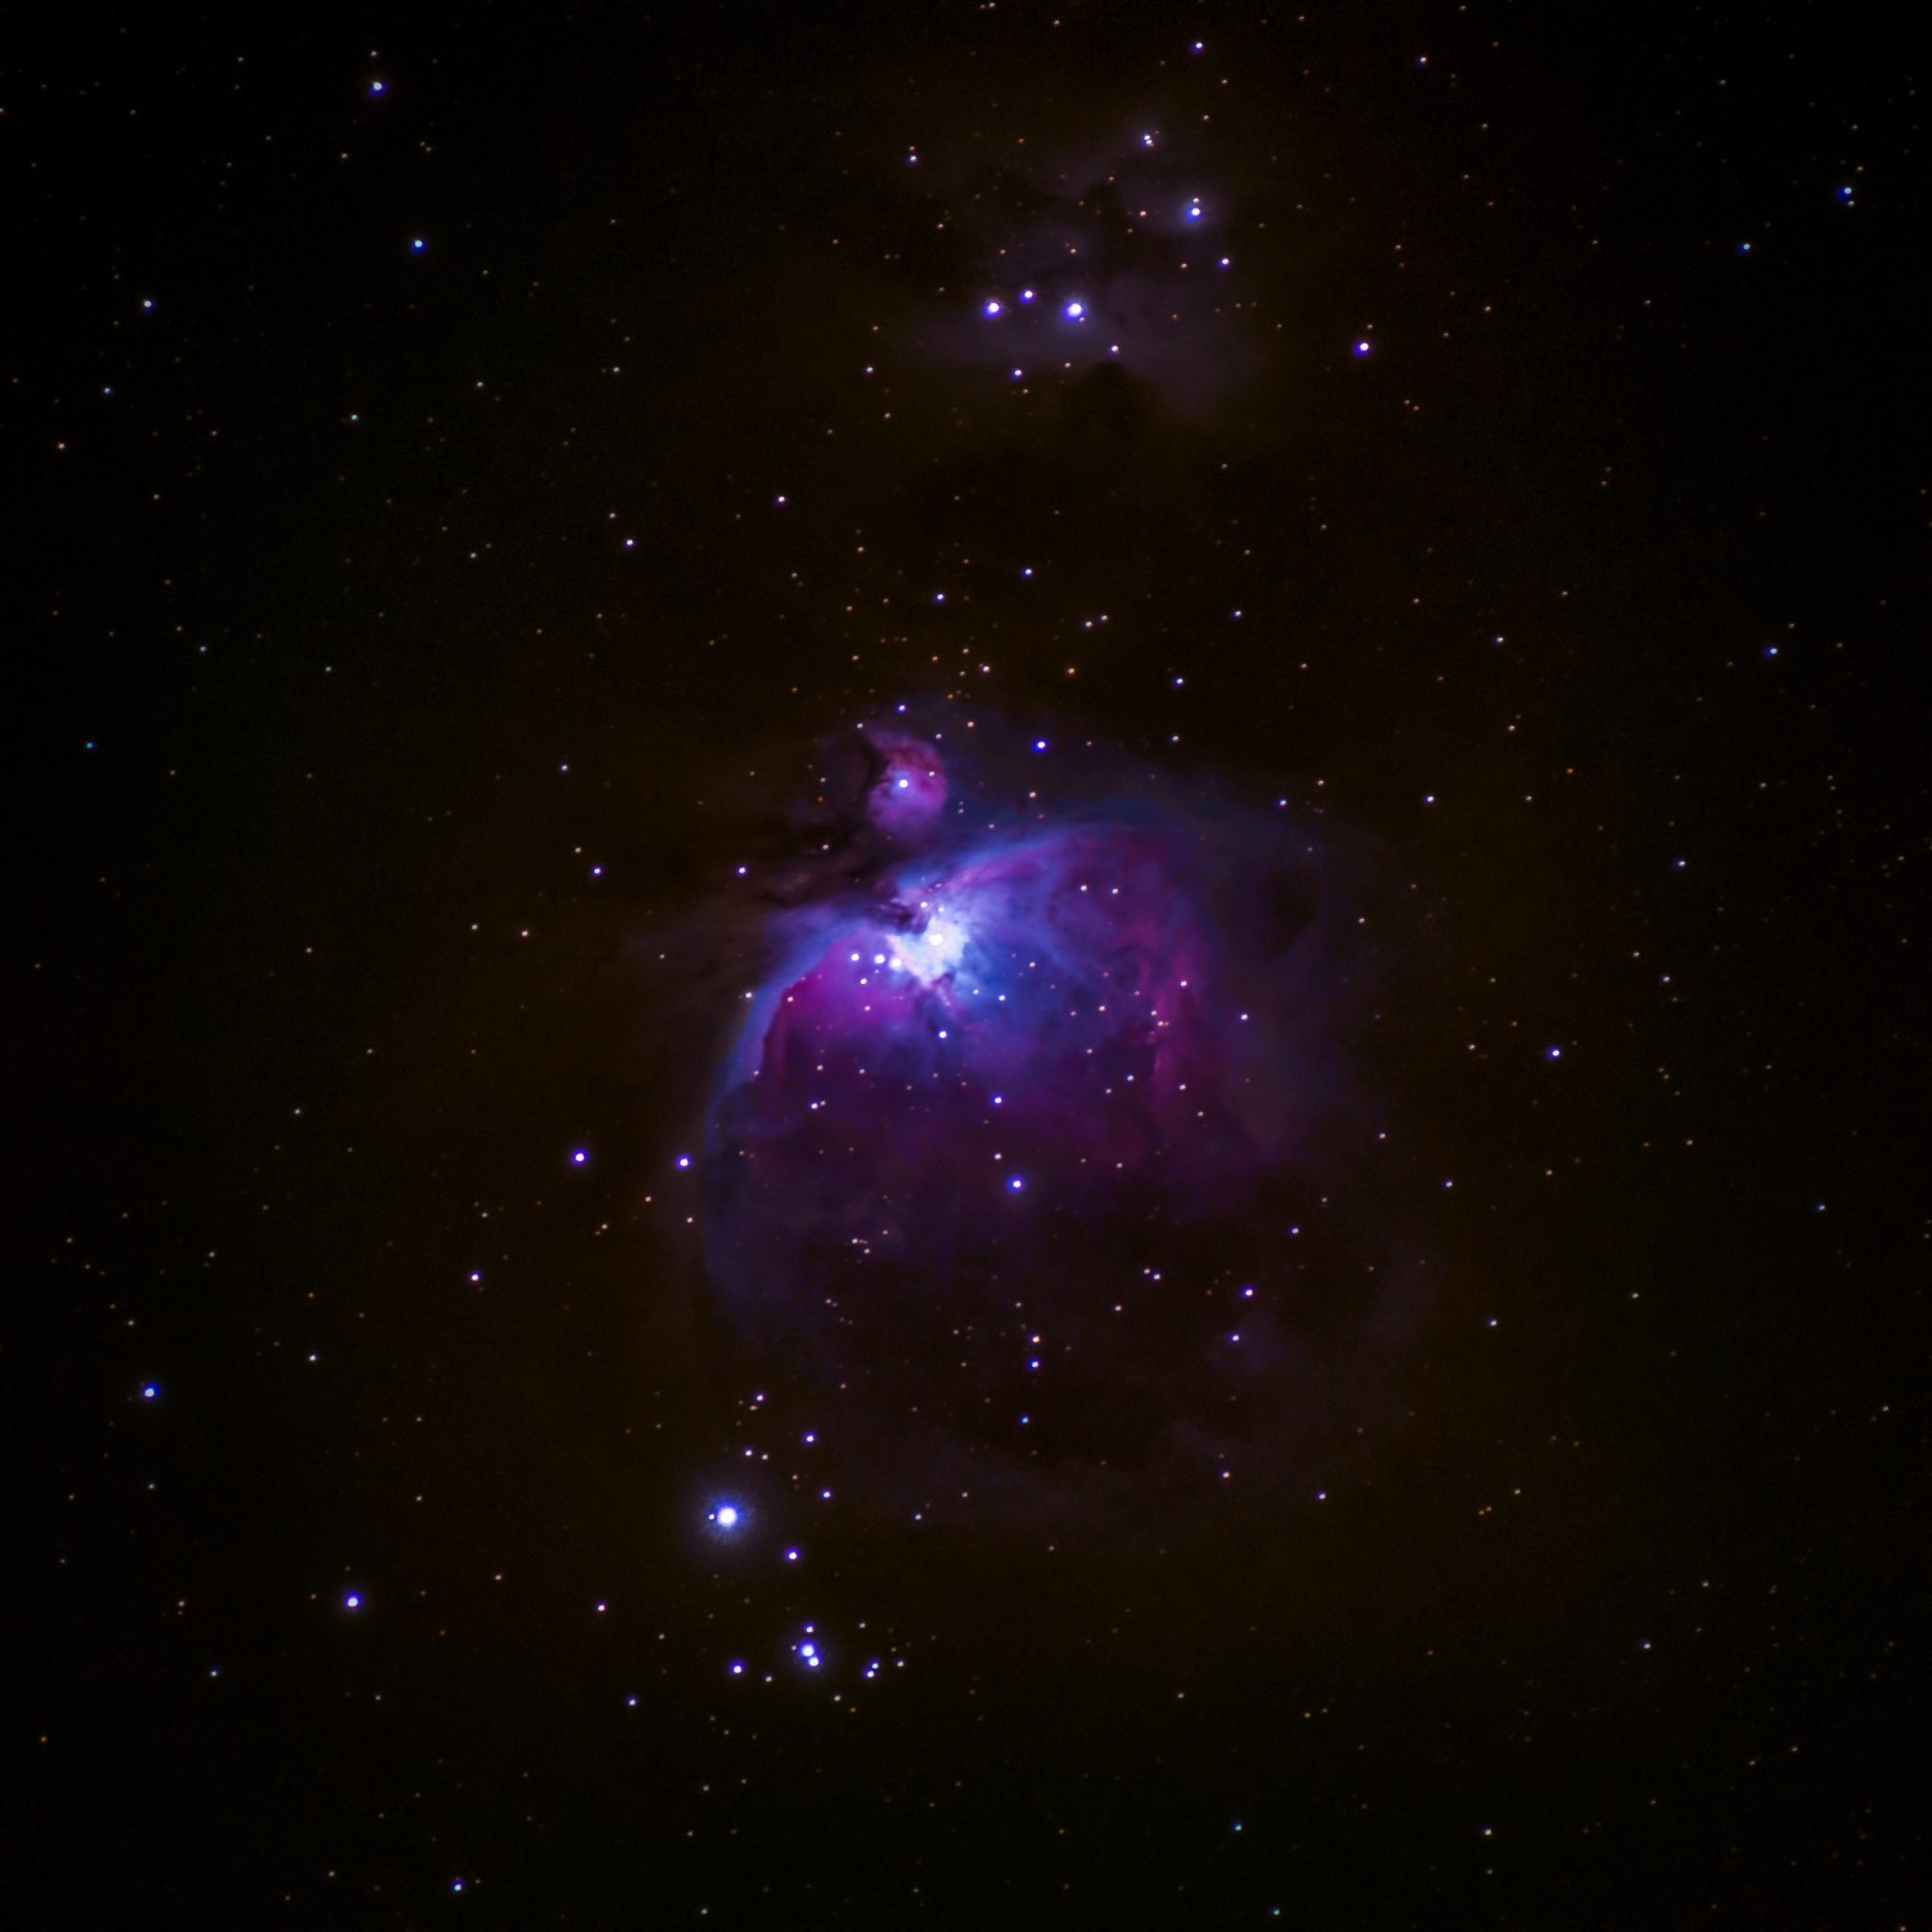
A few more weeks of practice led to the following image of Orion Nebula taken with the same equipment, but with better settings, more total exposure time, and better post processing techniques:
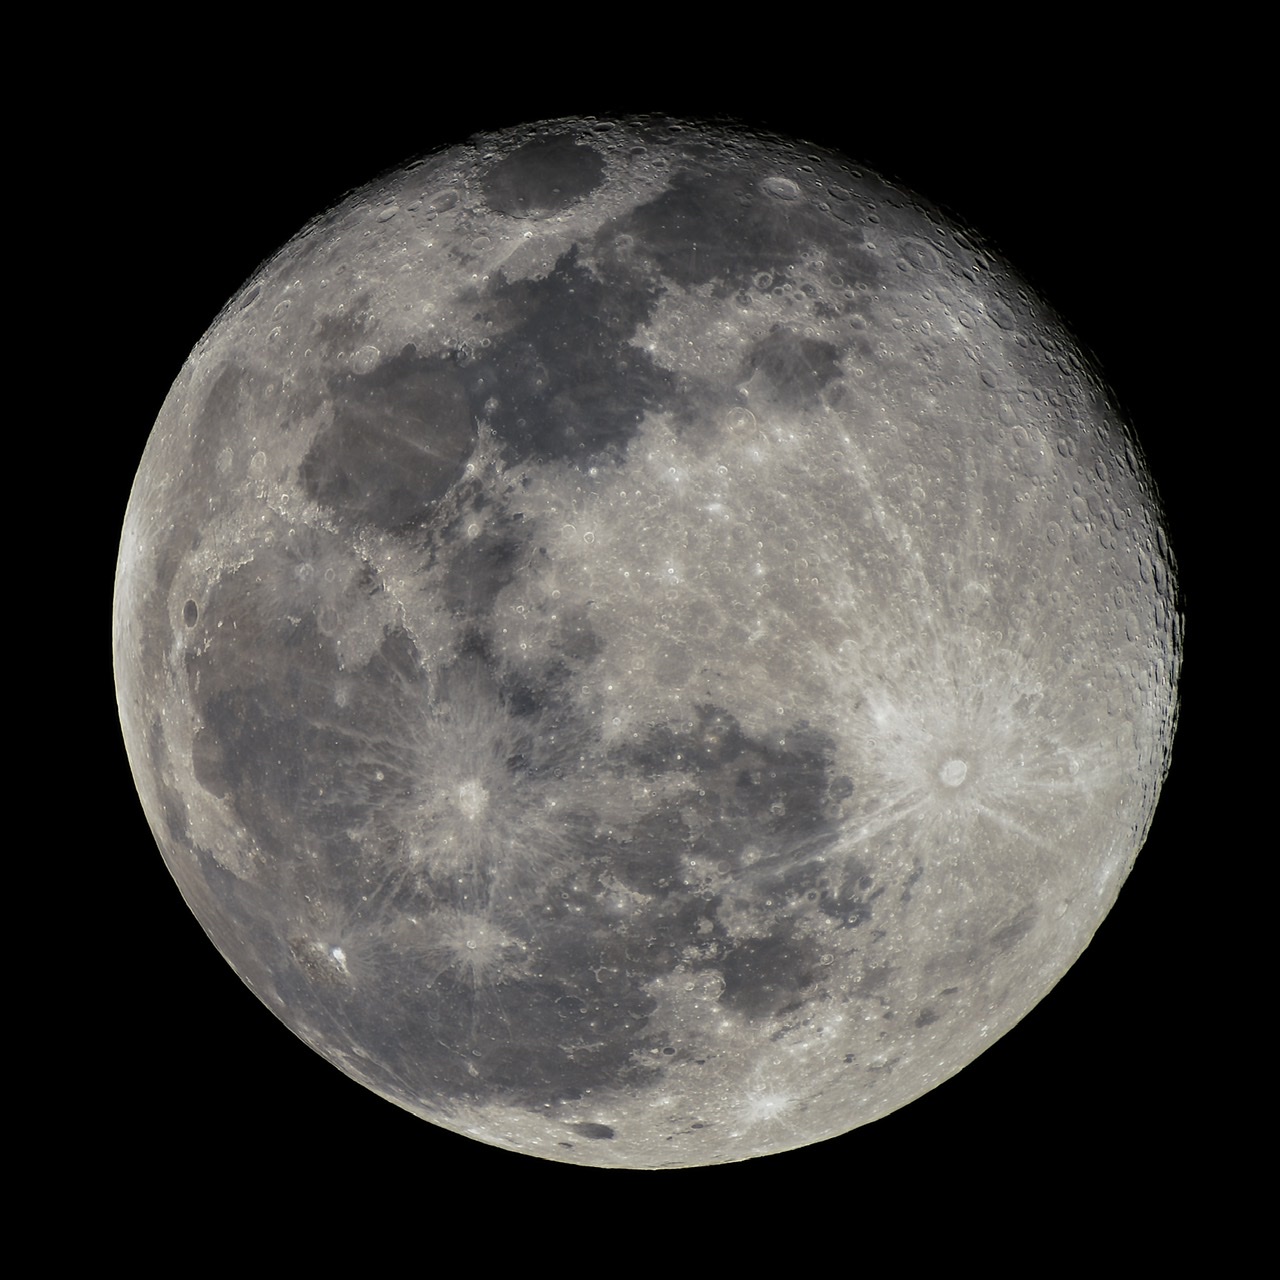
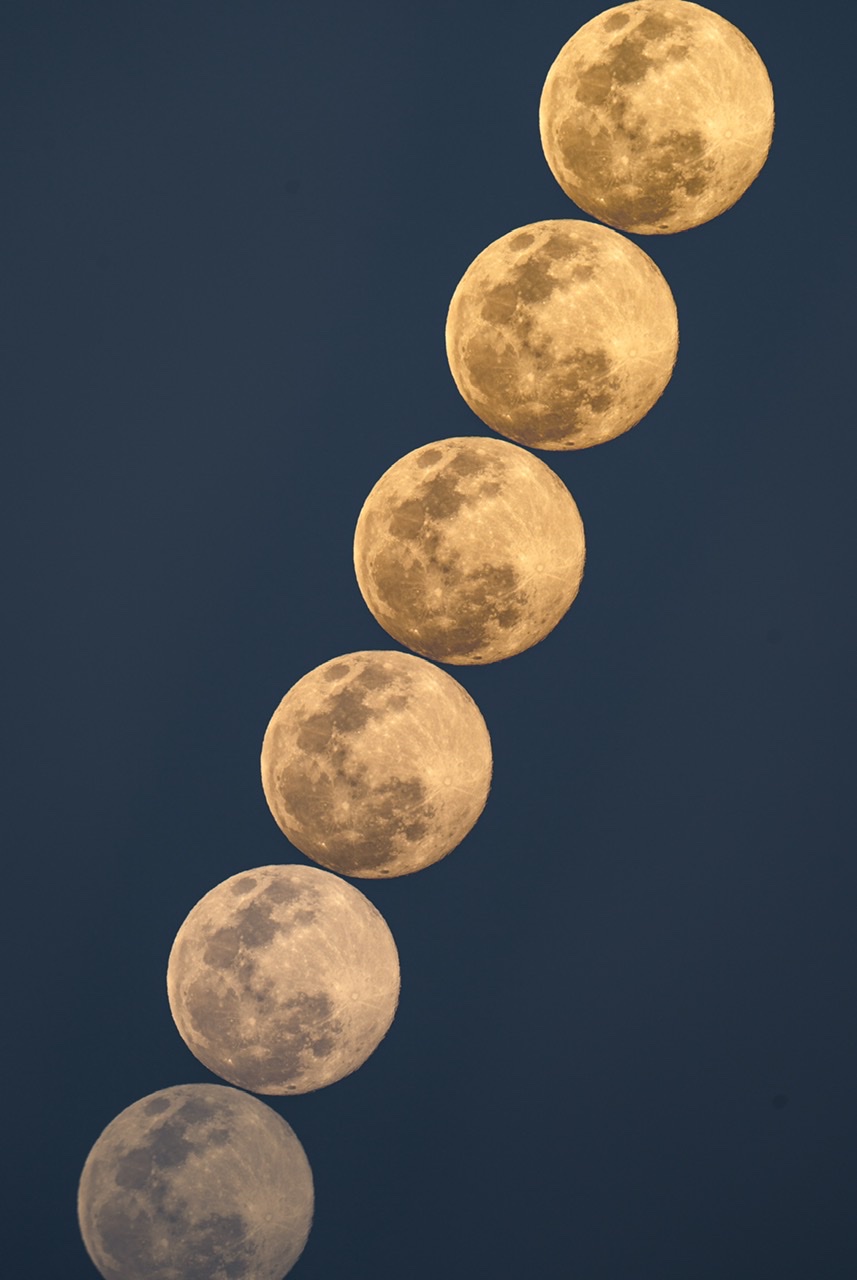
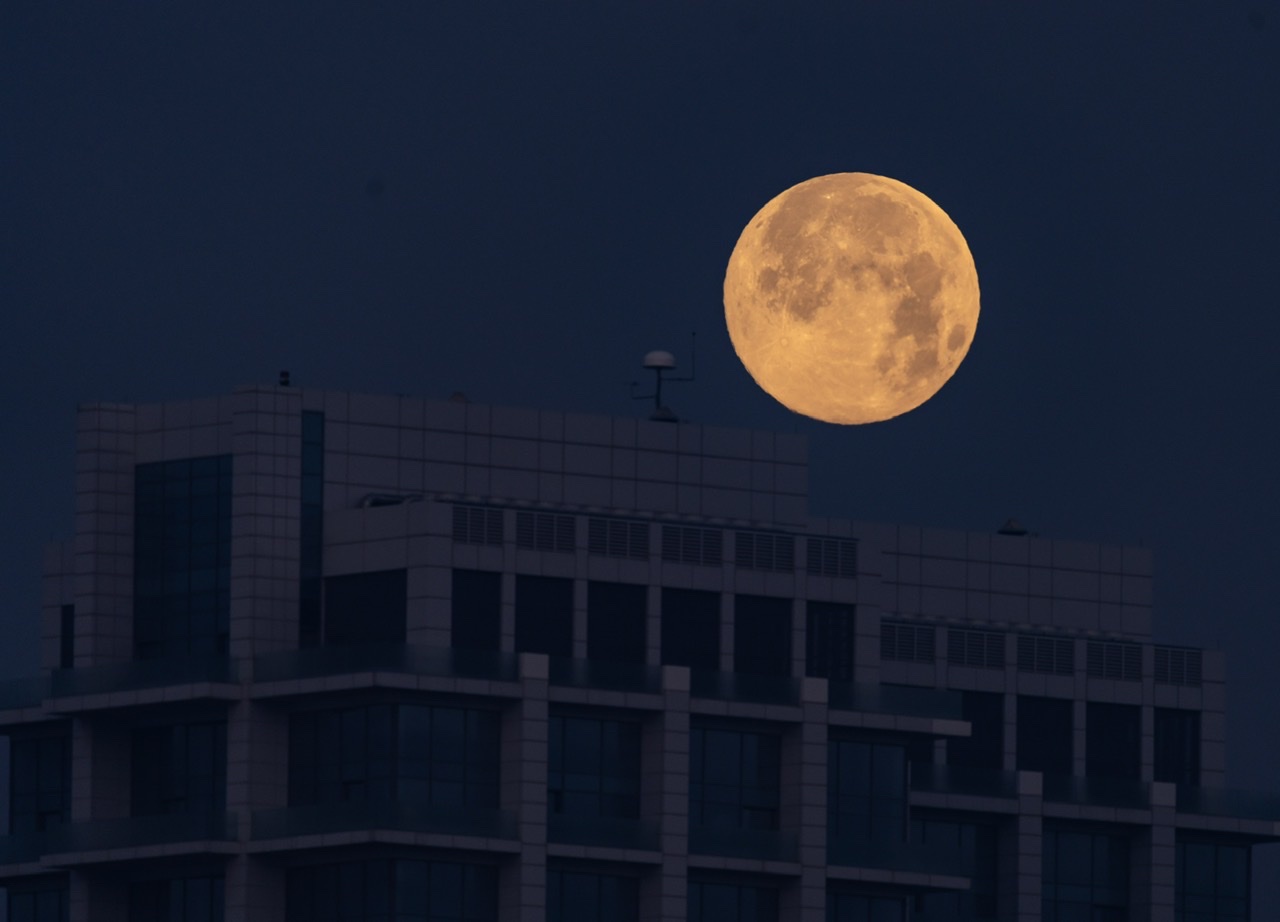
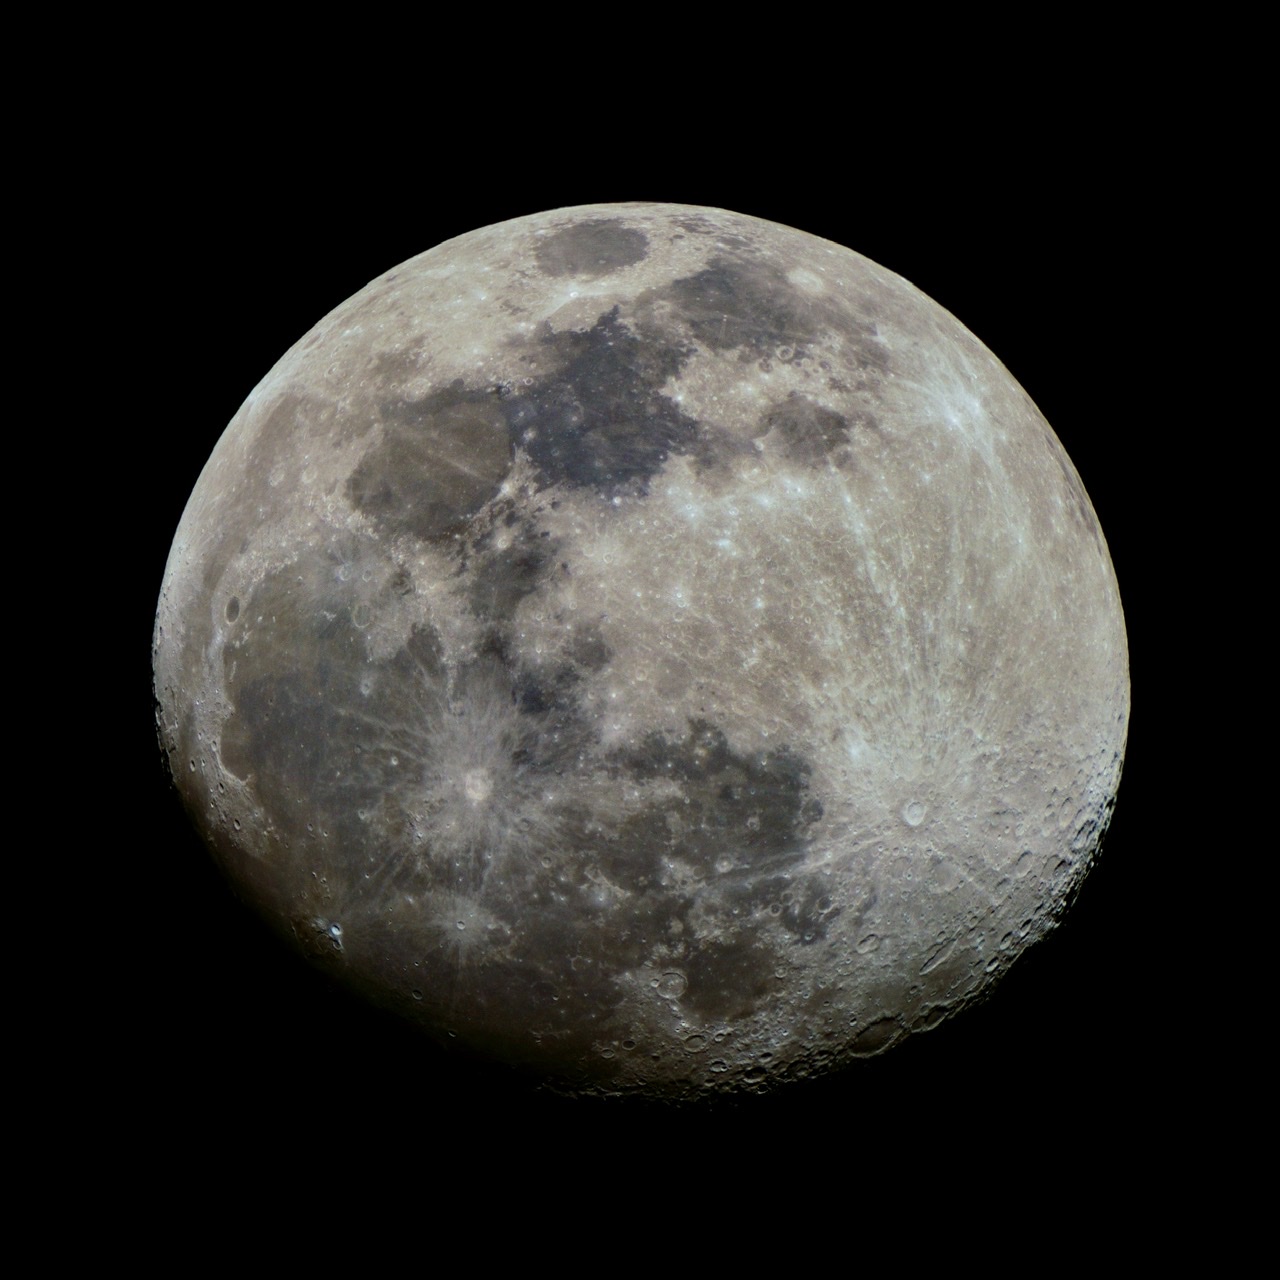
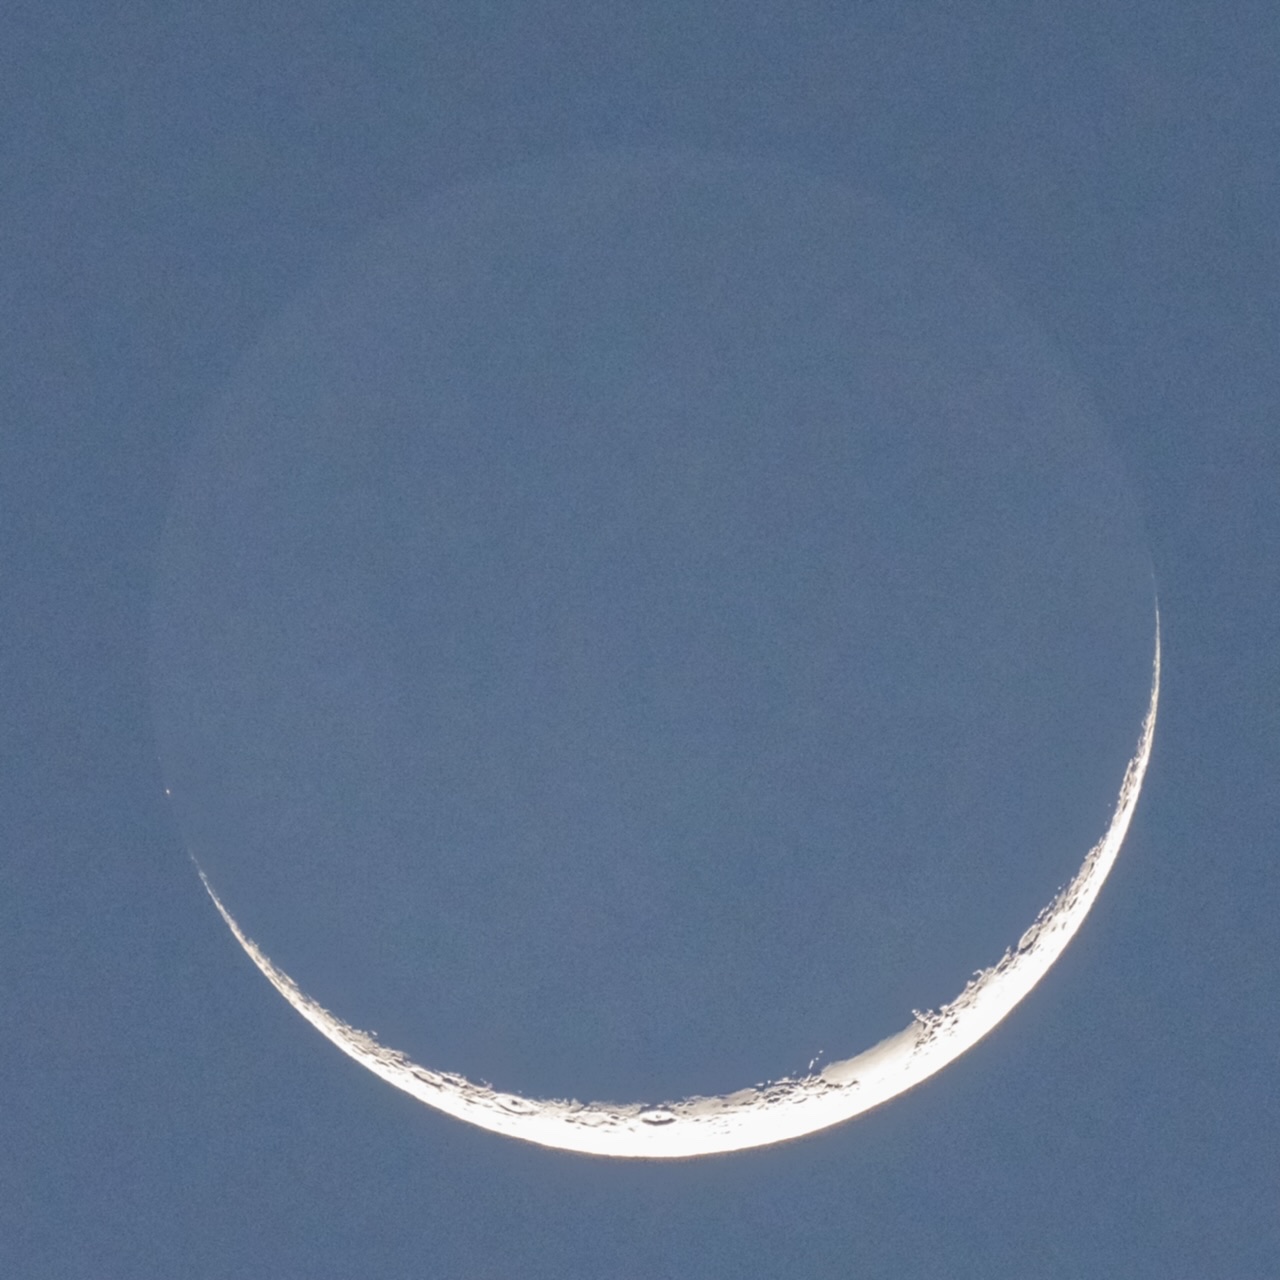
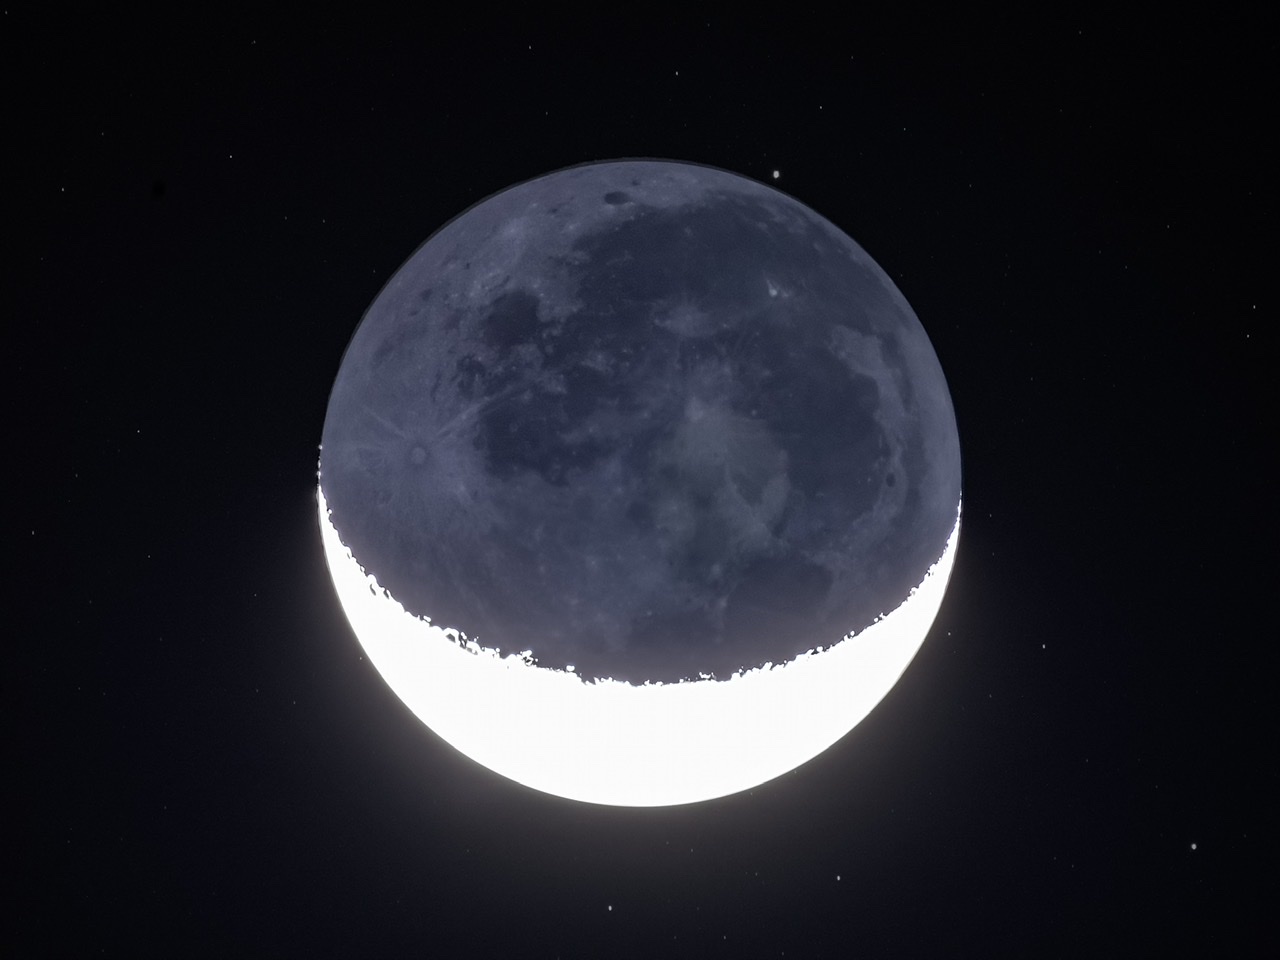
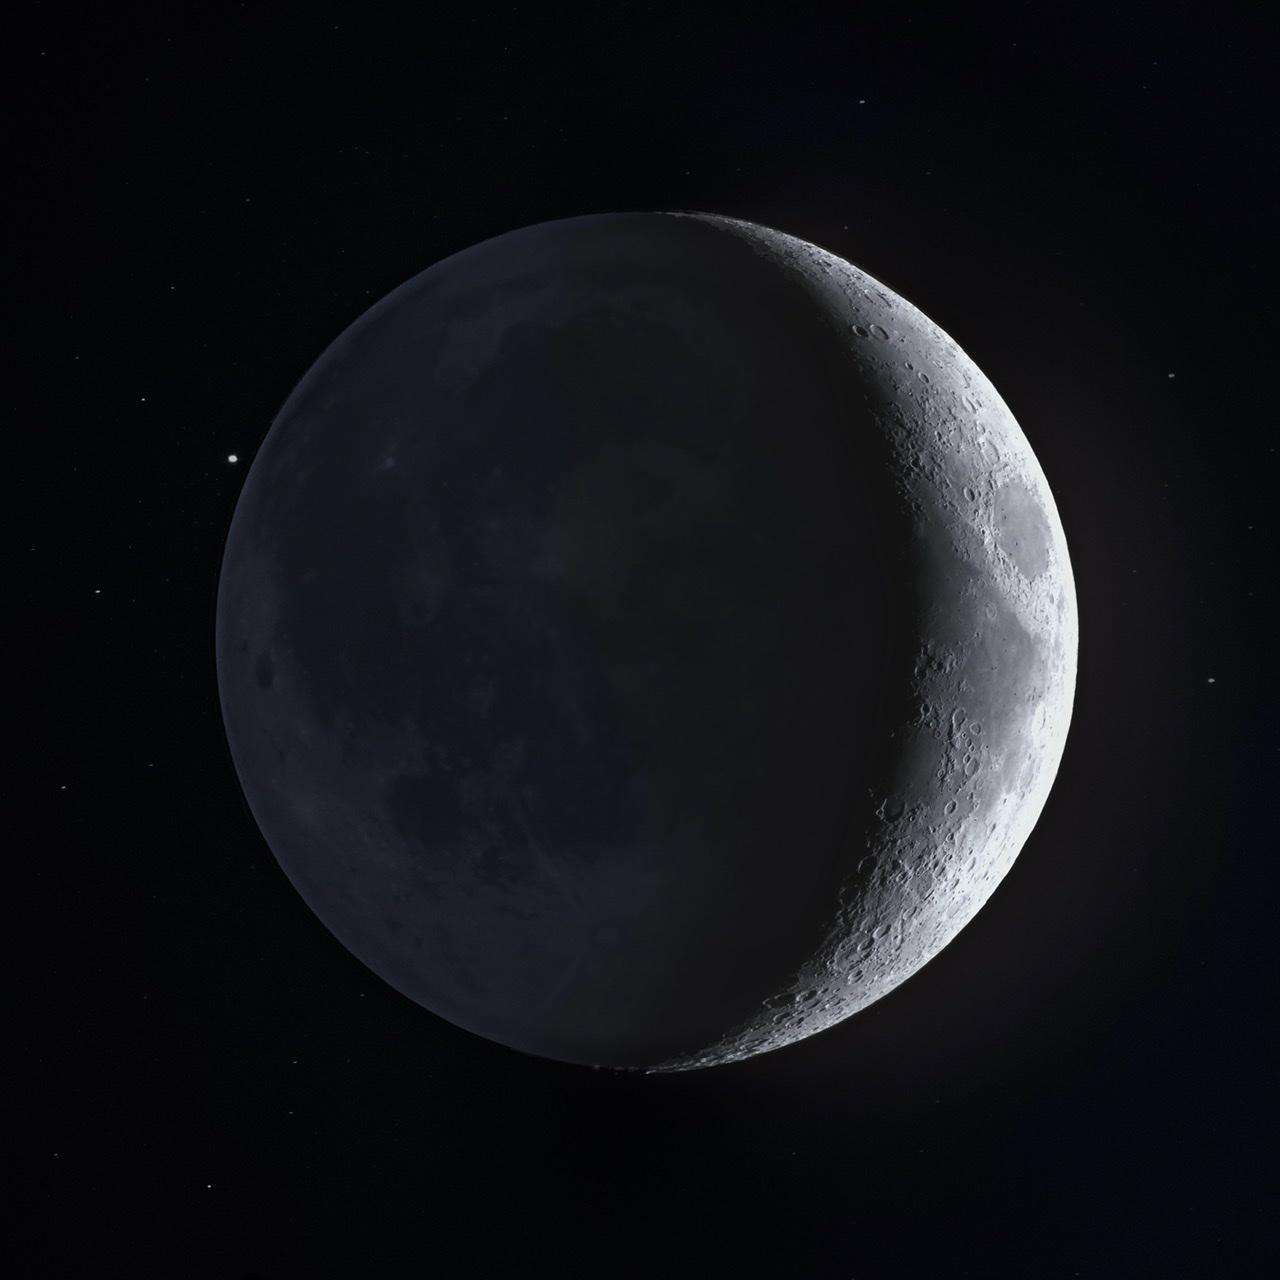
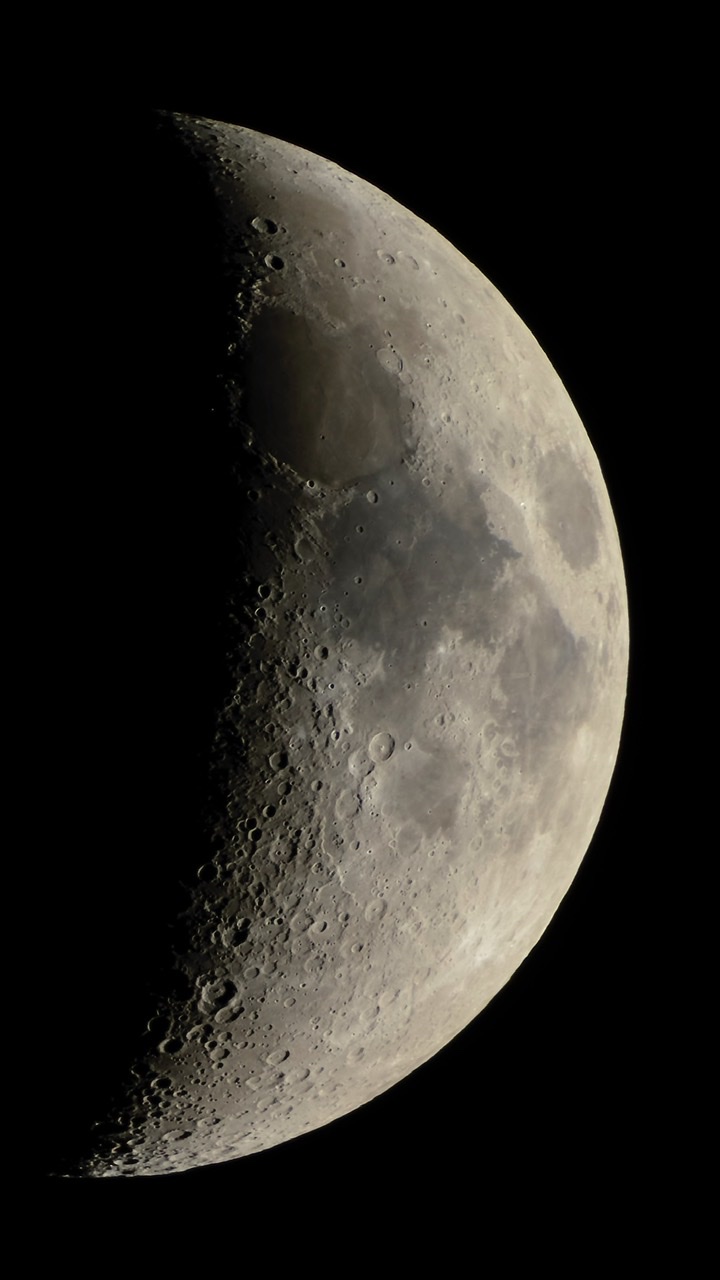
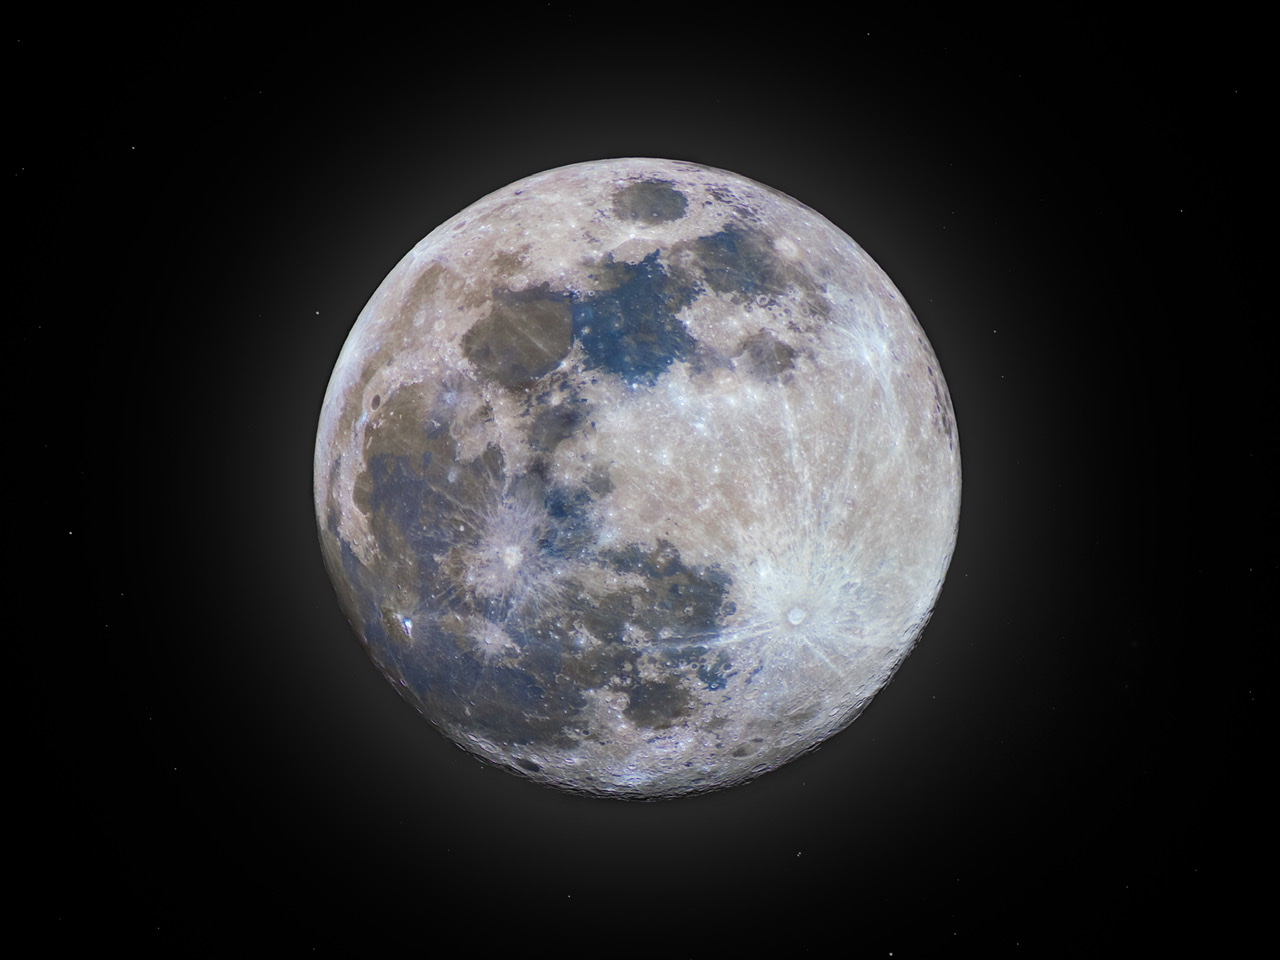
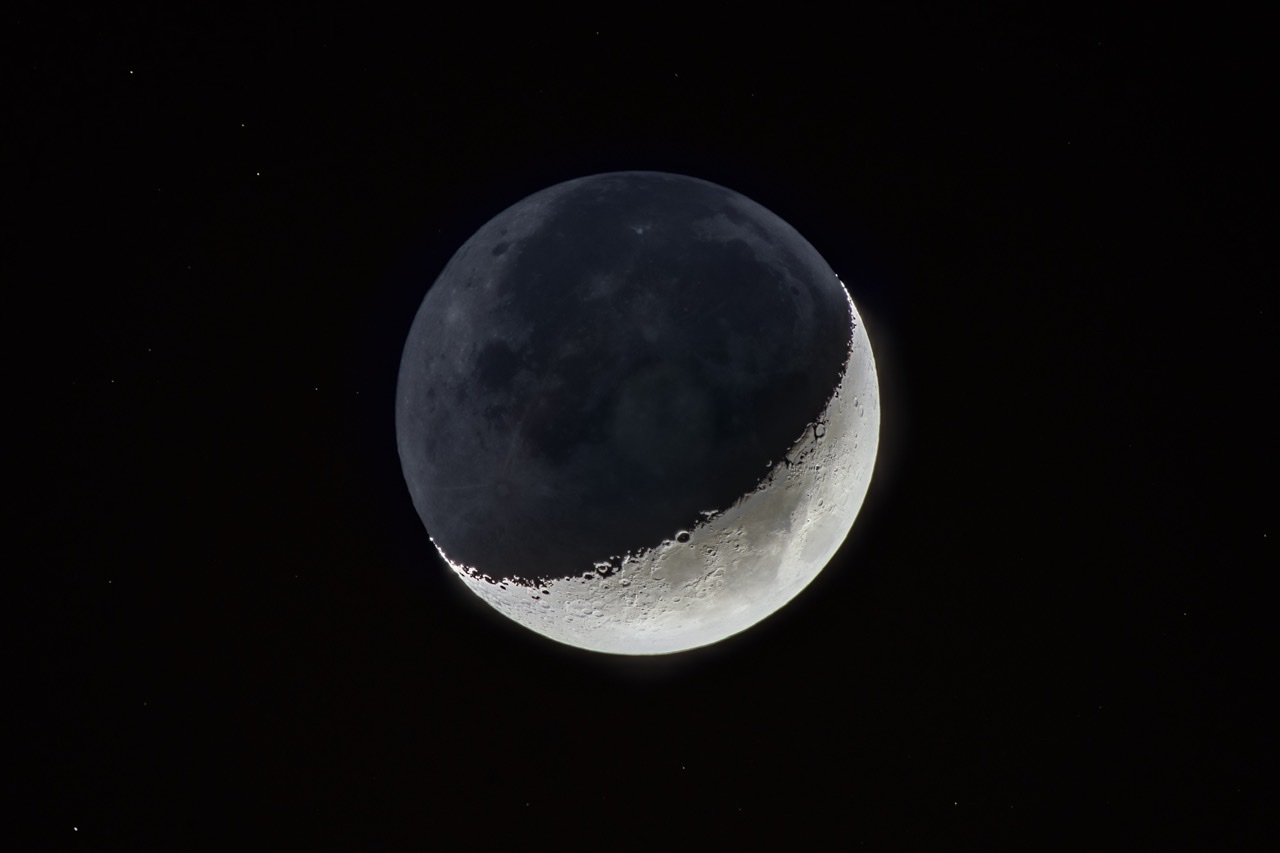
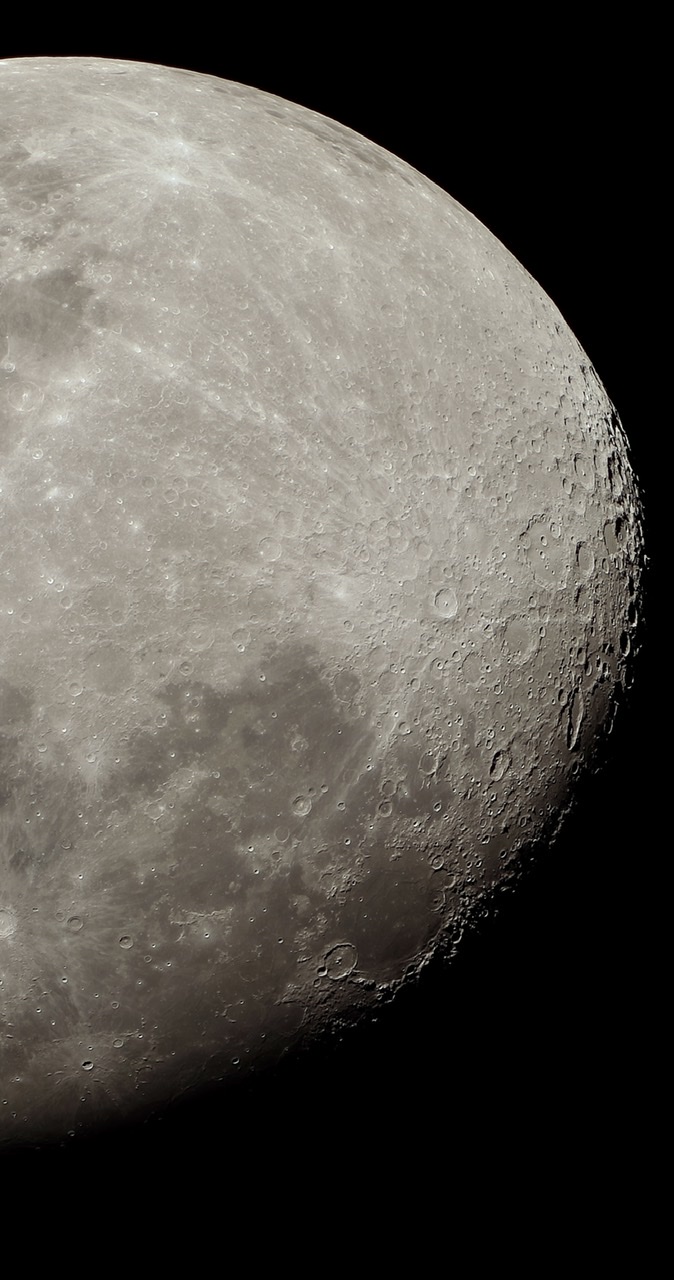
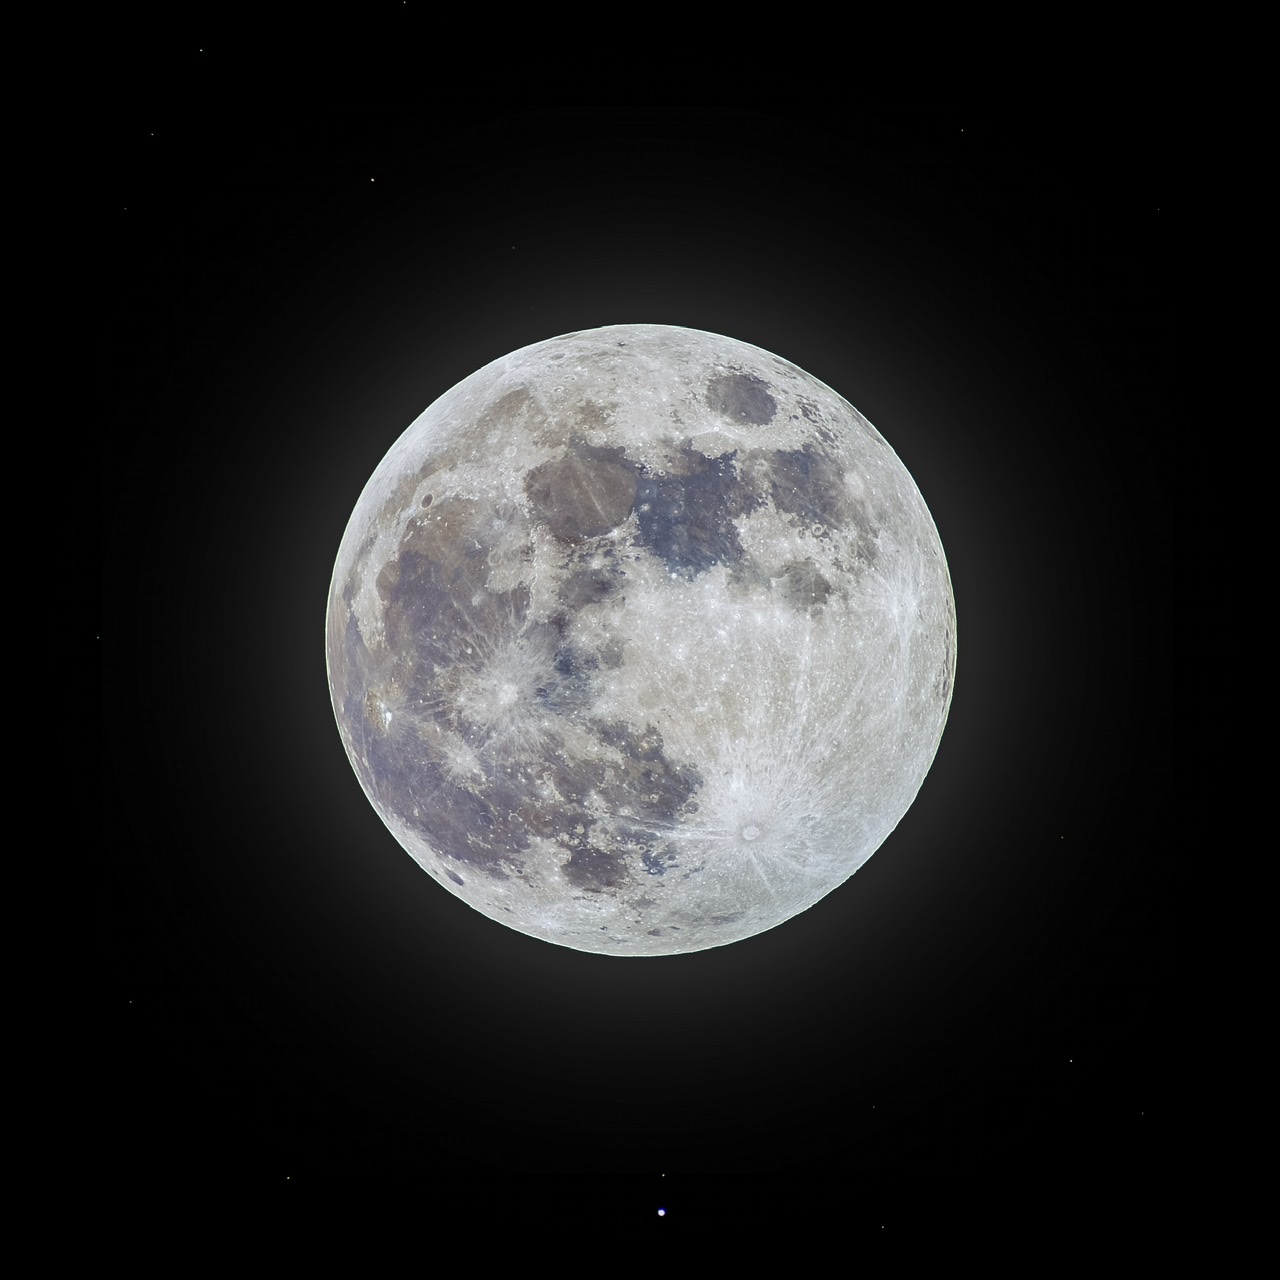
Once lockdown was in full effect in Dubai, I continued shooting night sky photos as best I could from my roof. The Moon is easy to photograph even in light polluted skies, so I took a lot of different types of moon photos:
In addition to lunar photography, I tried my had at shooting the planets and DSO’s with limited success because there was too much light pollution, weather conditions were not great (hot, humid, dusty summer nights in Dubai), and my camera lens is not suitable for these types of targets. They really require a proper telescope and GoTo equatorial mount to shoot well.
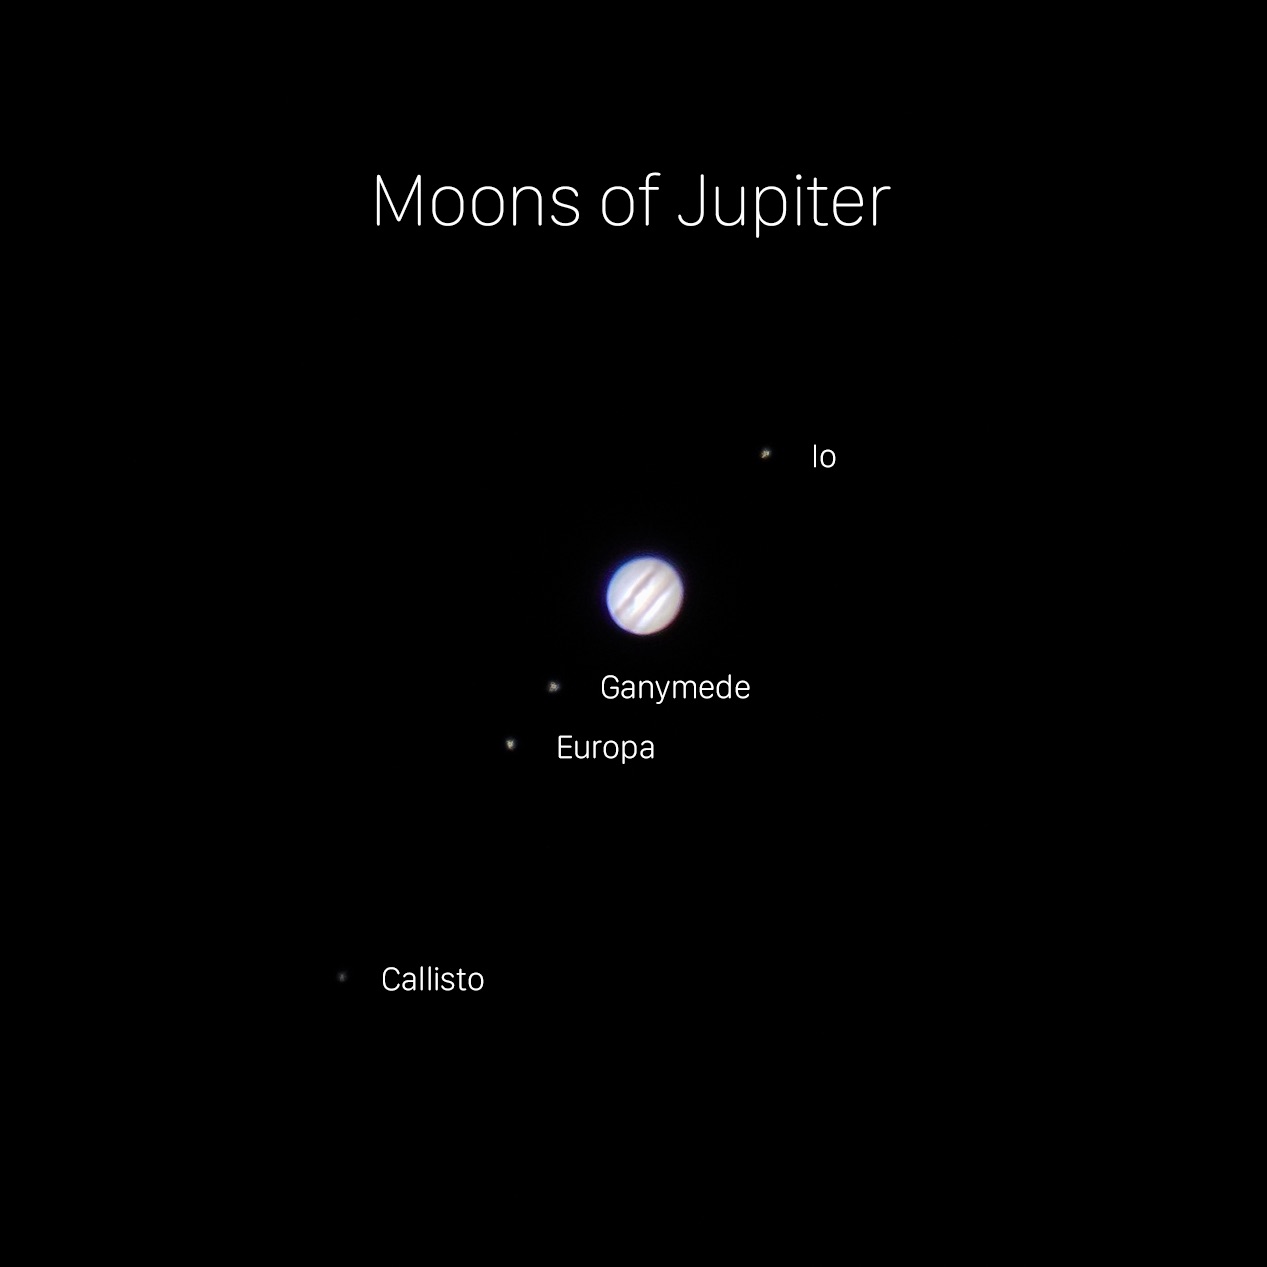
Jupiter and moons 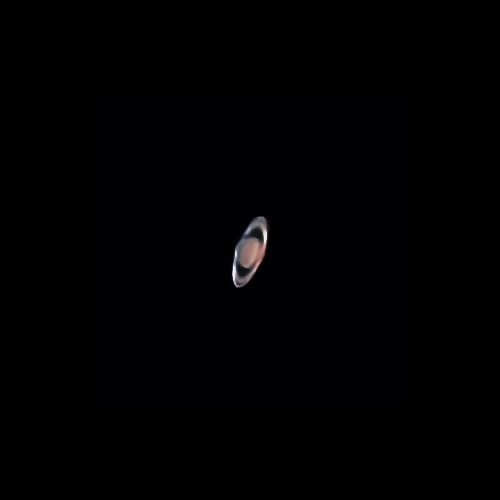
Saturn 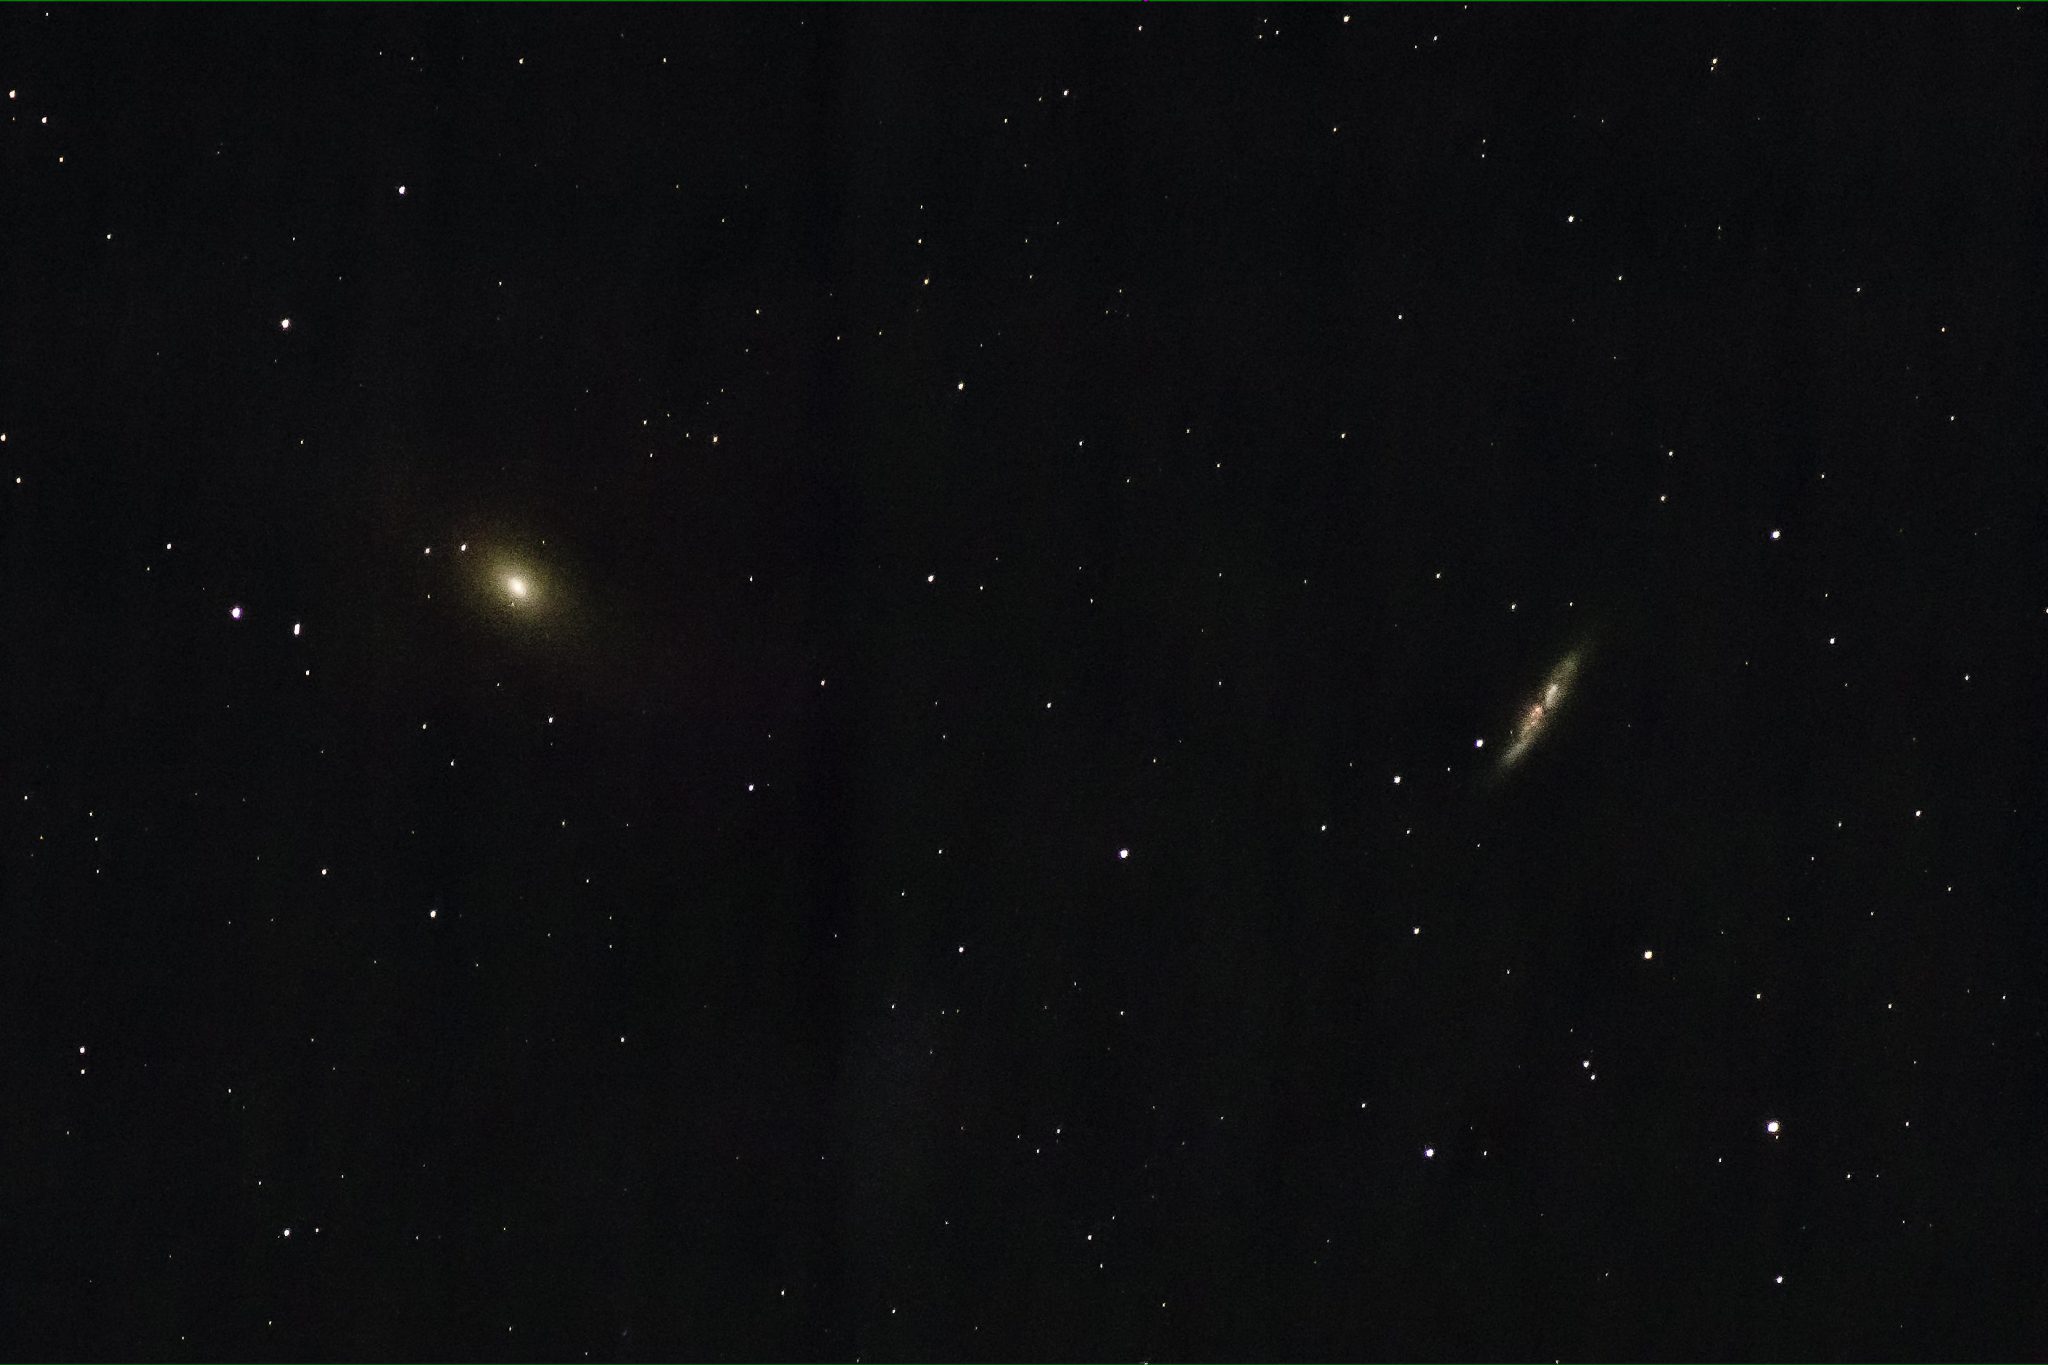
Bode’s Galaxy and the Cigar Galaxy 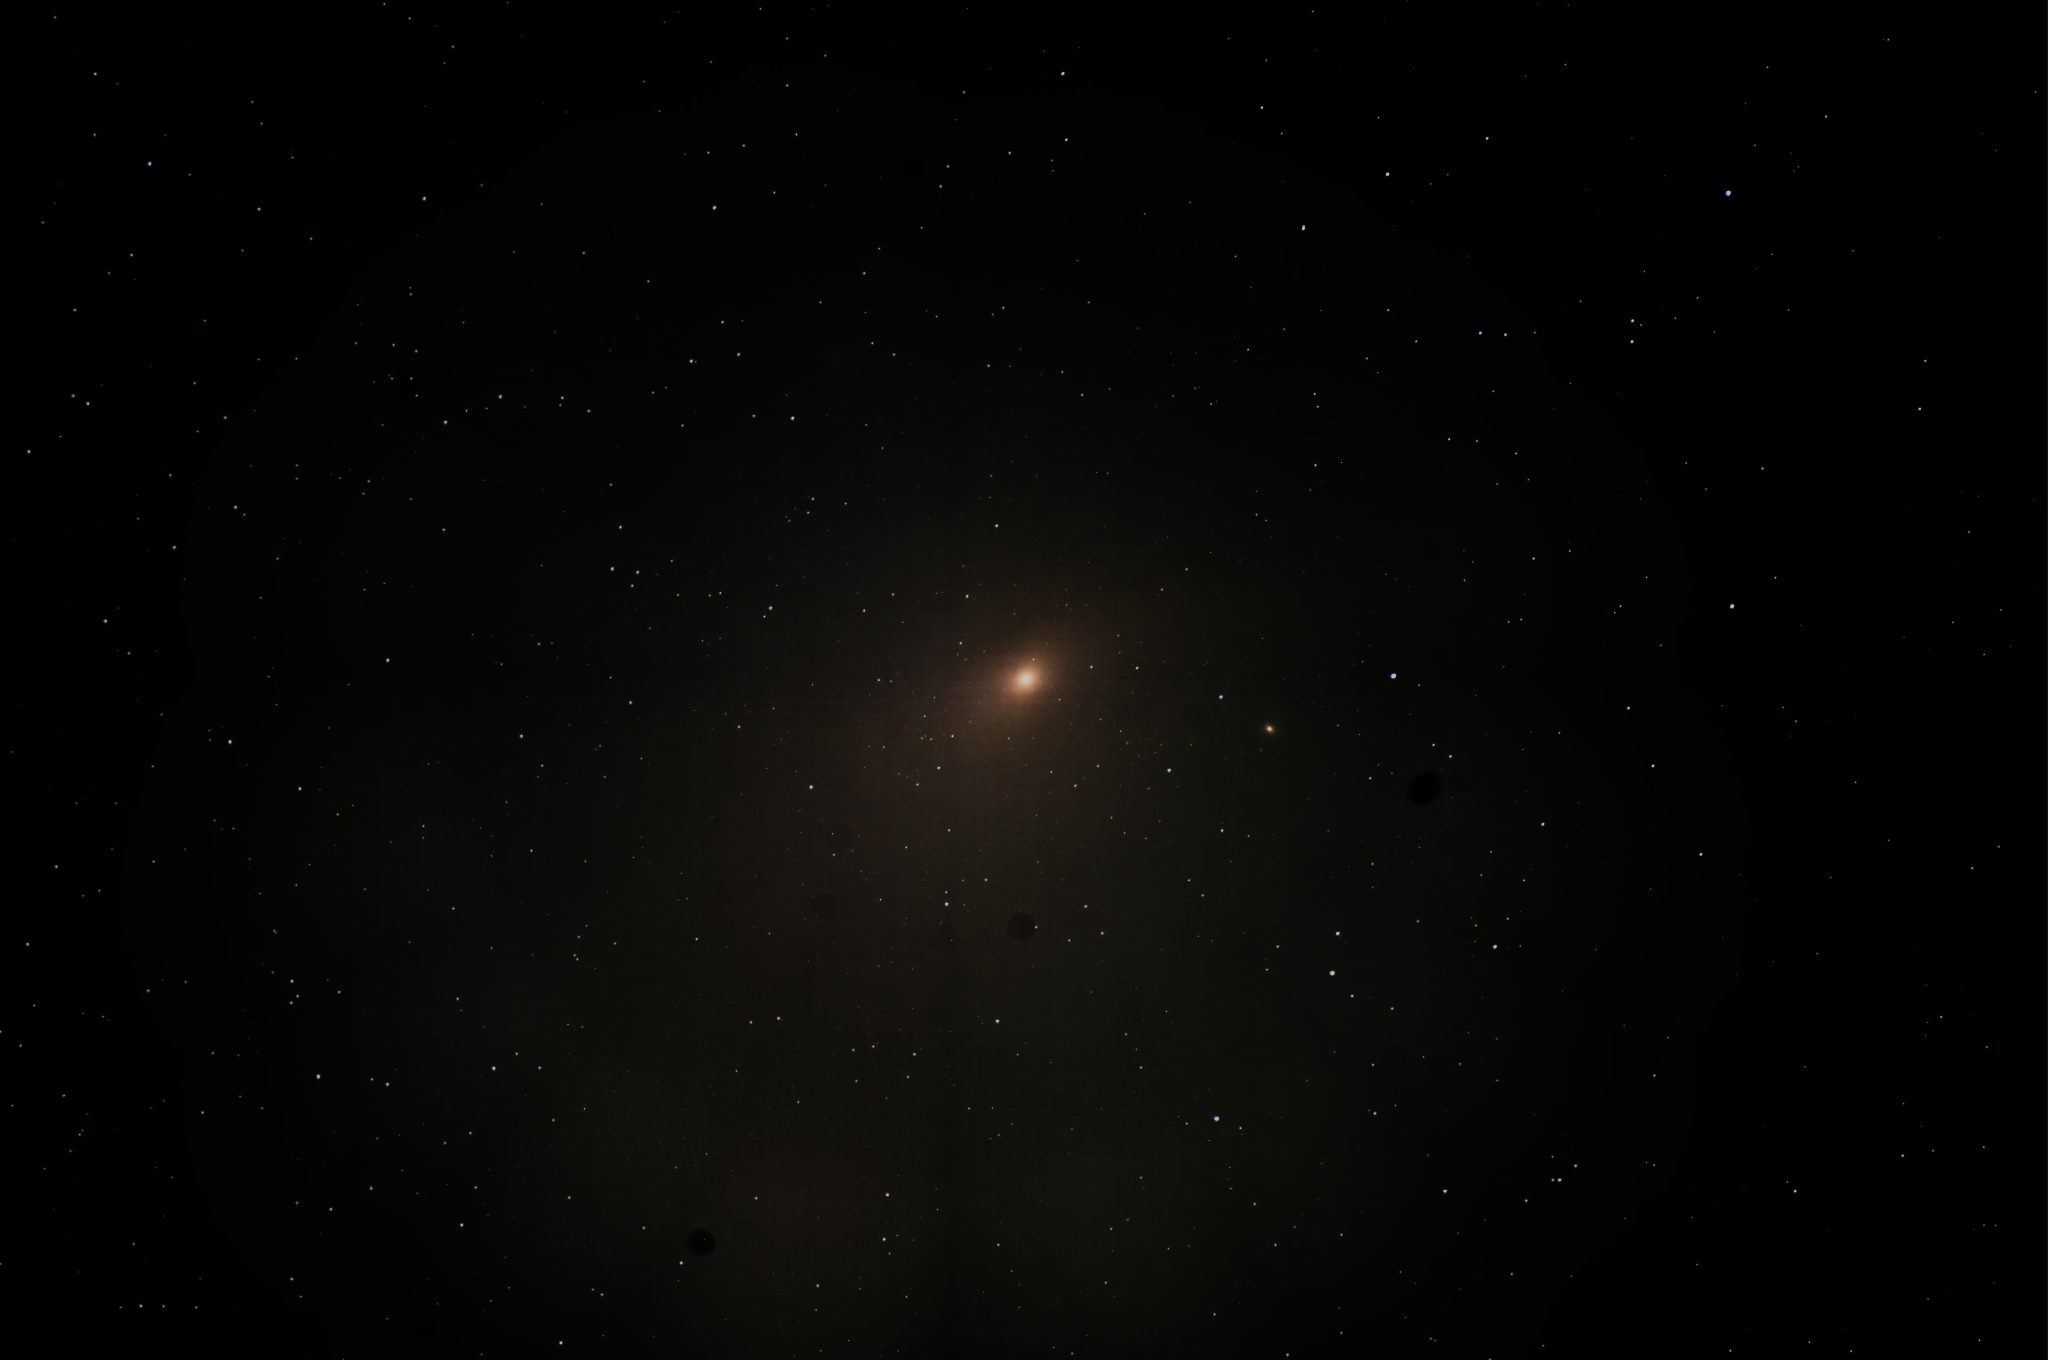
Andromeda Galaxy 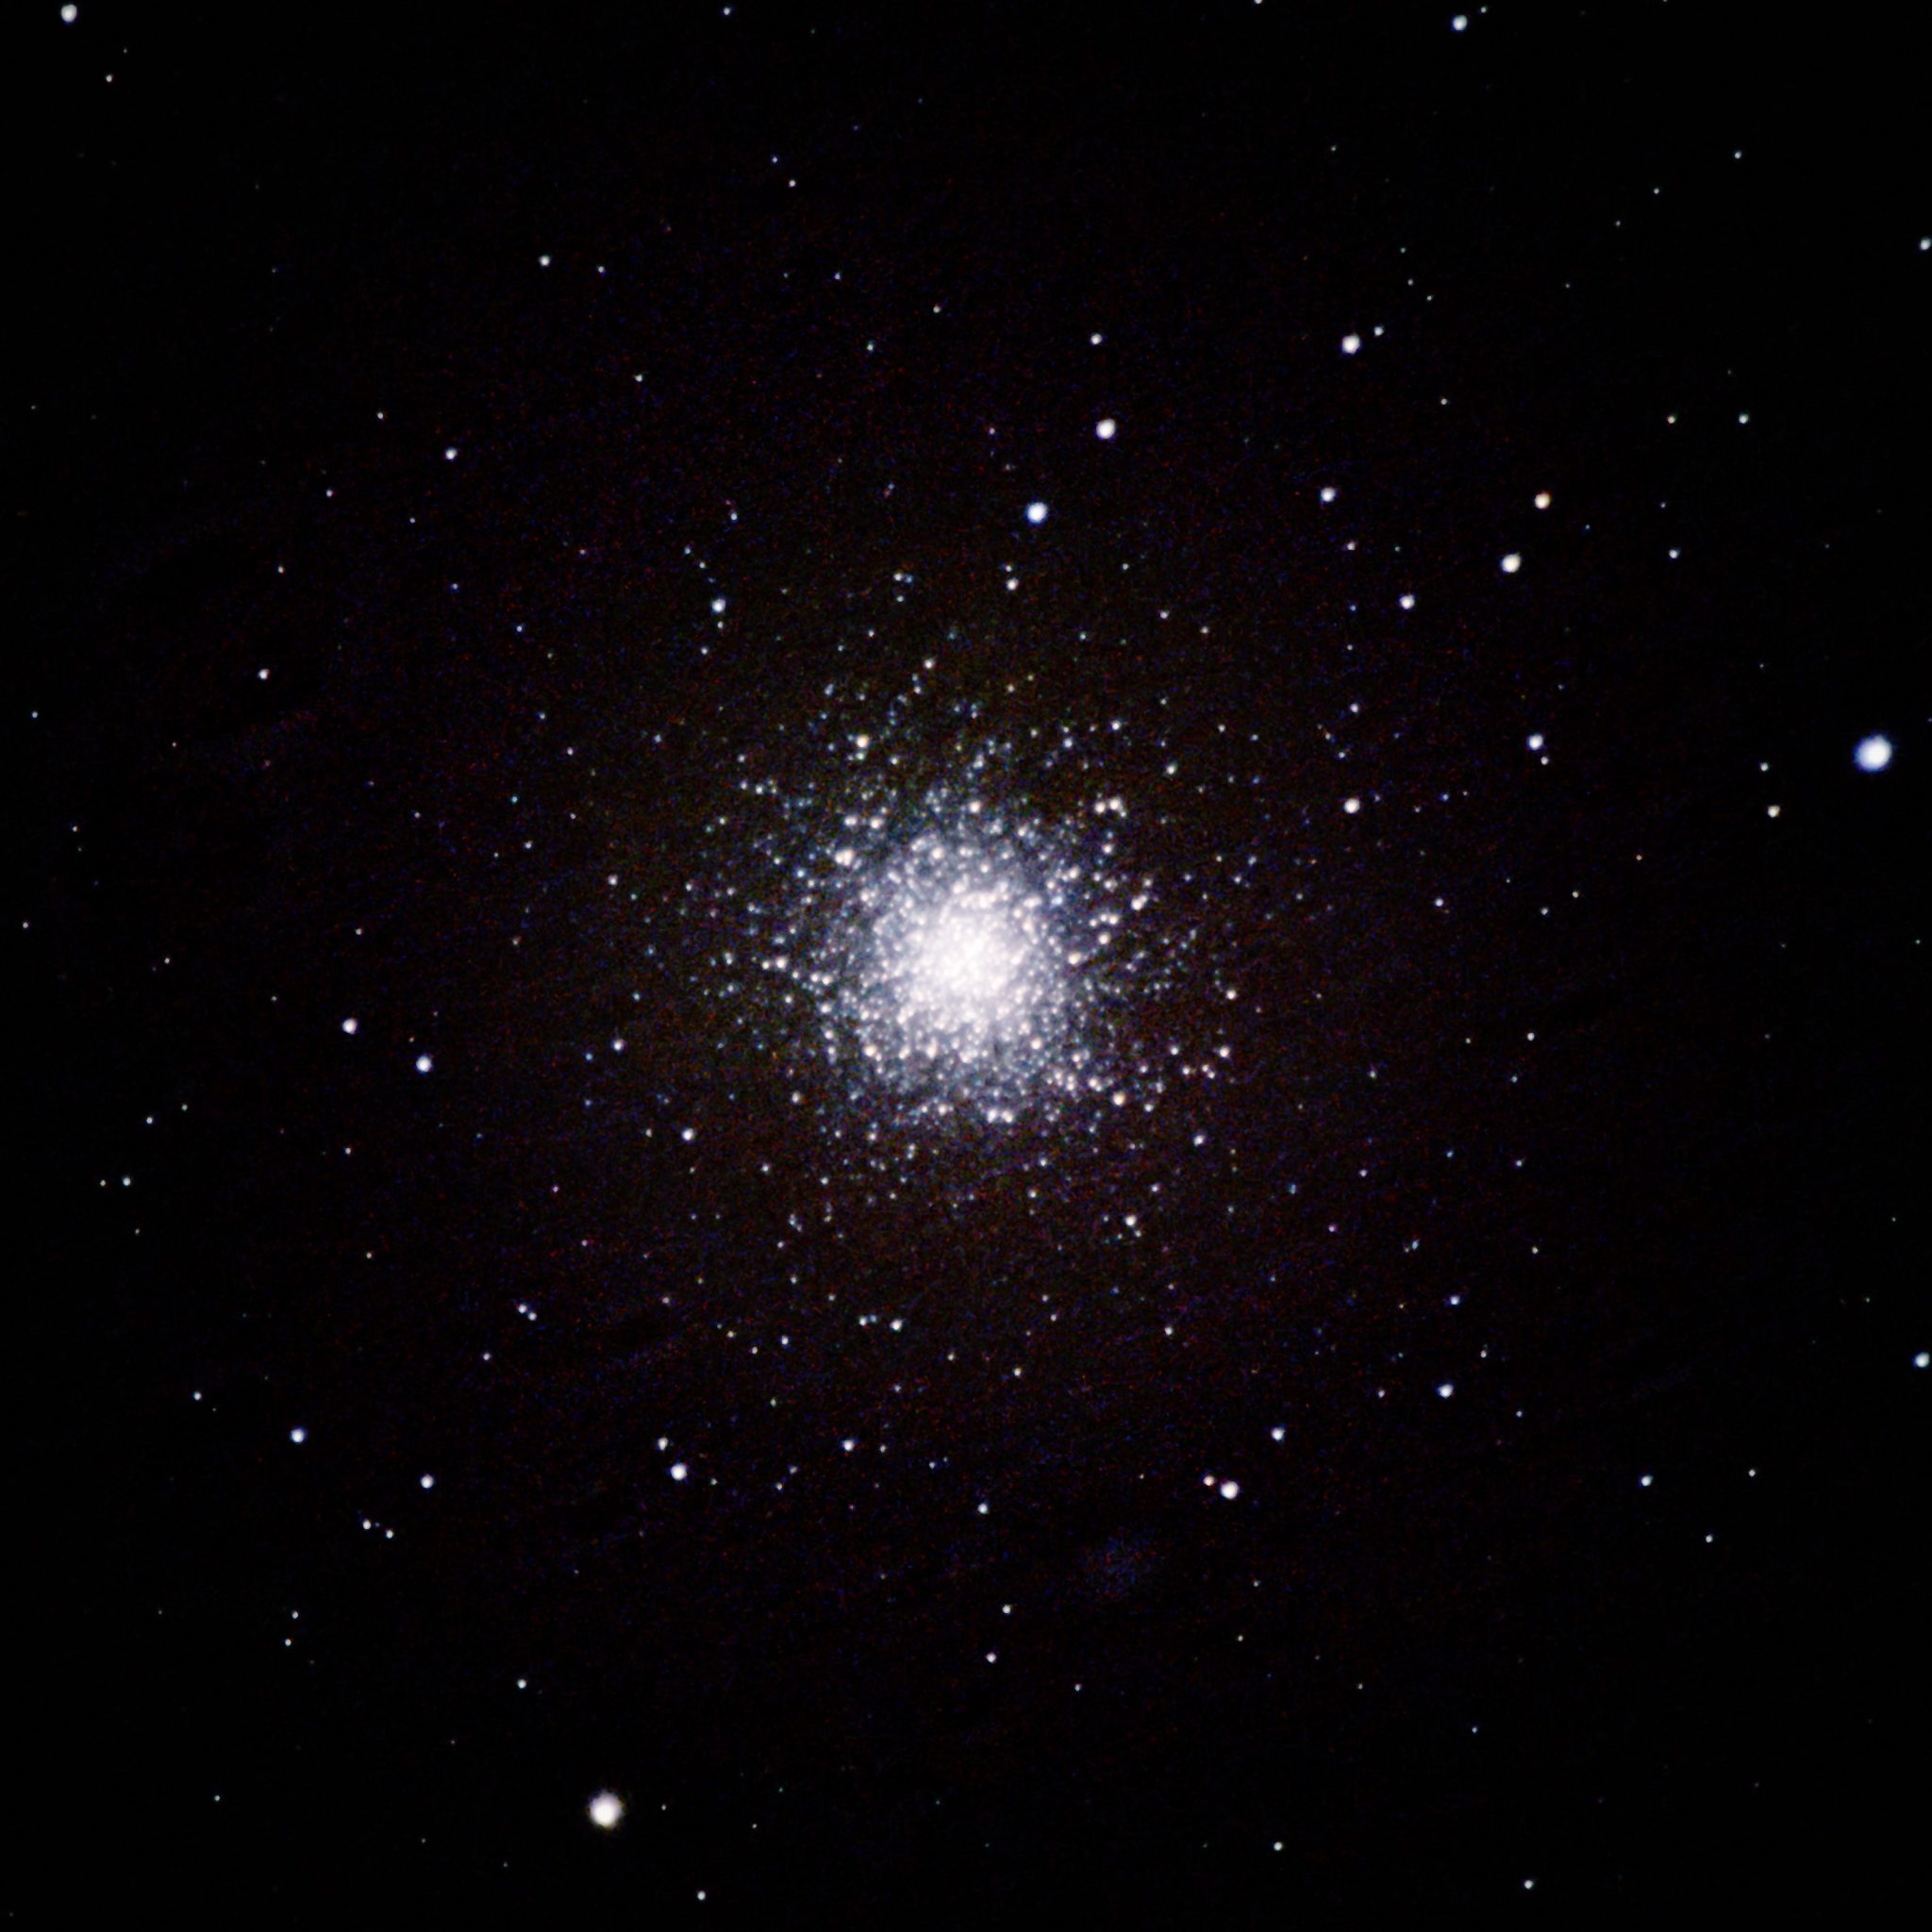
Great Globular Cluster in Hercules 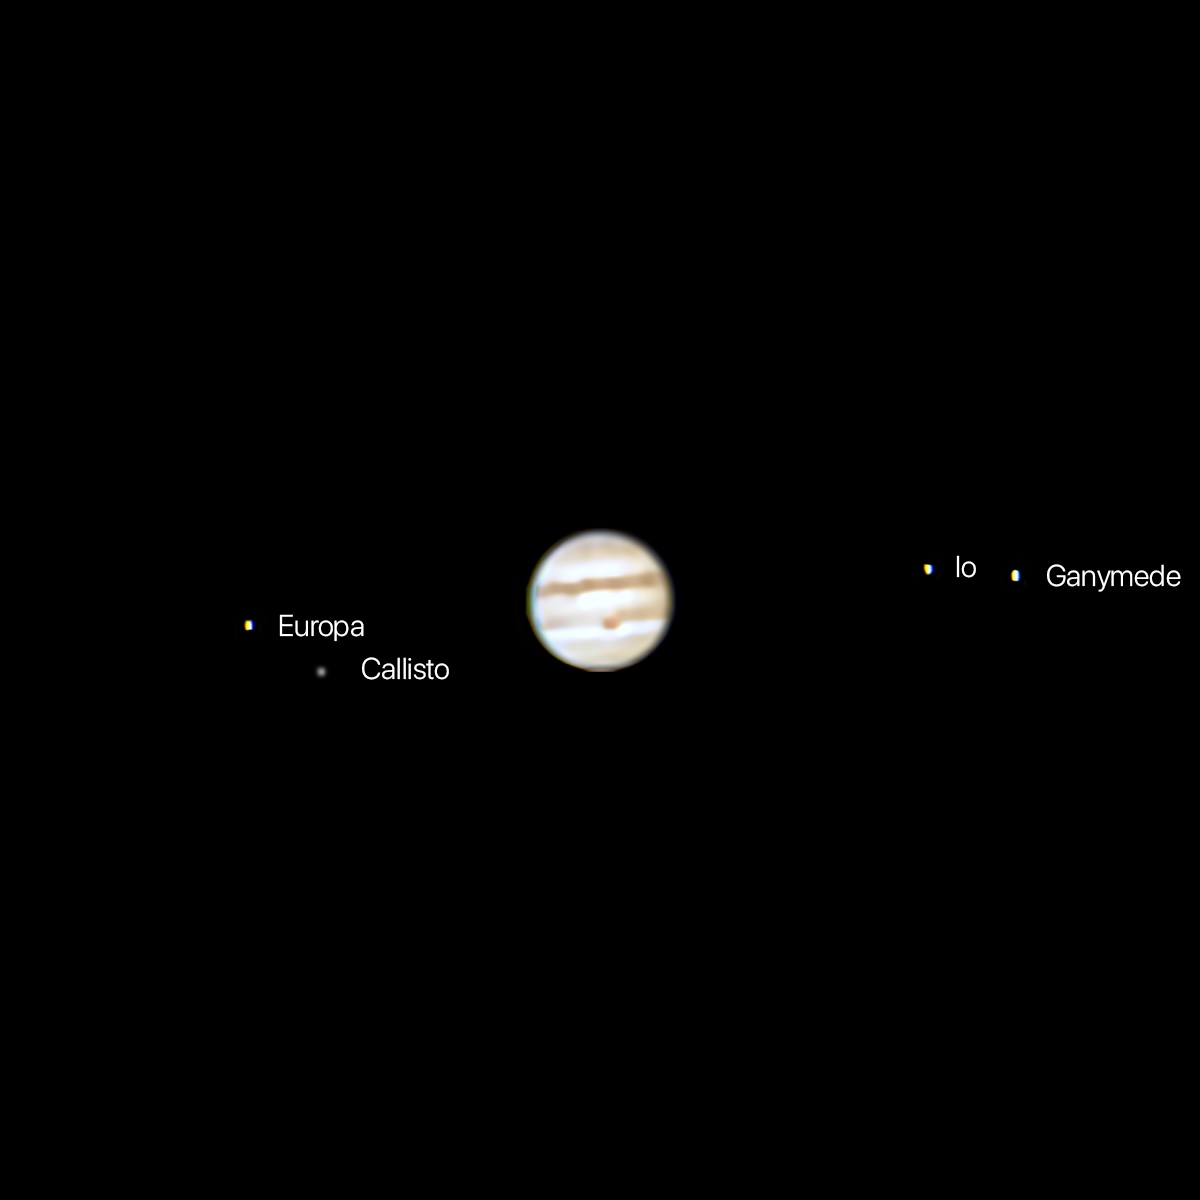
Jupiter and moons
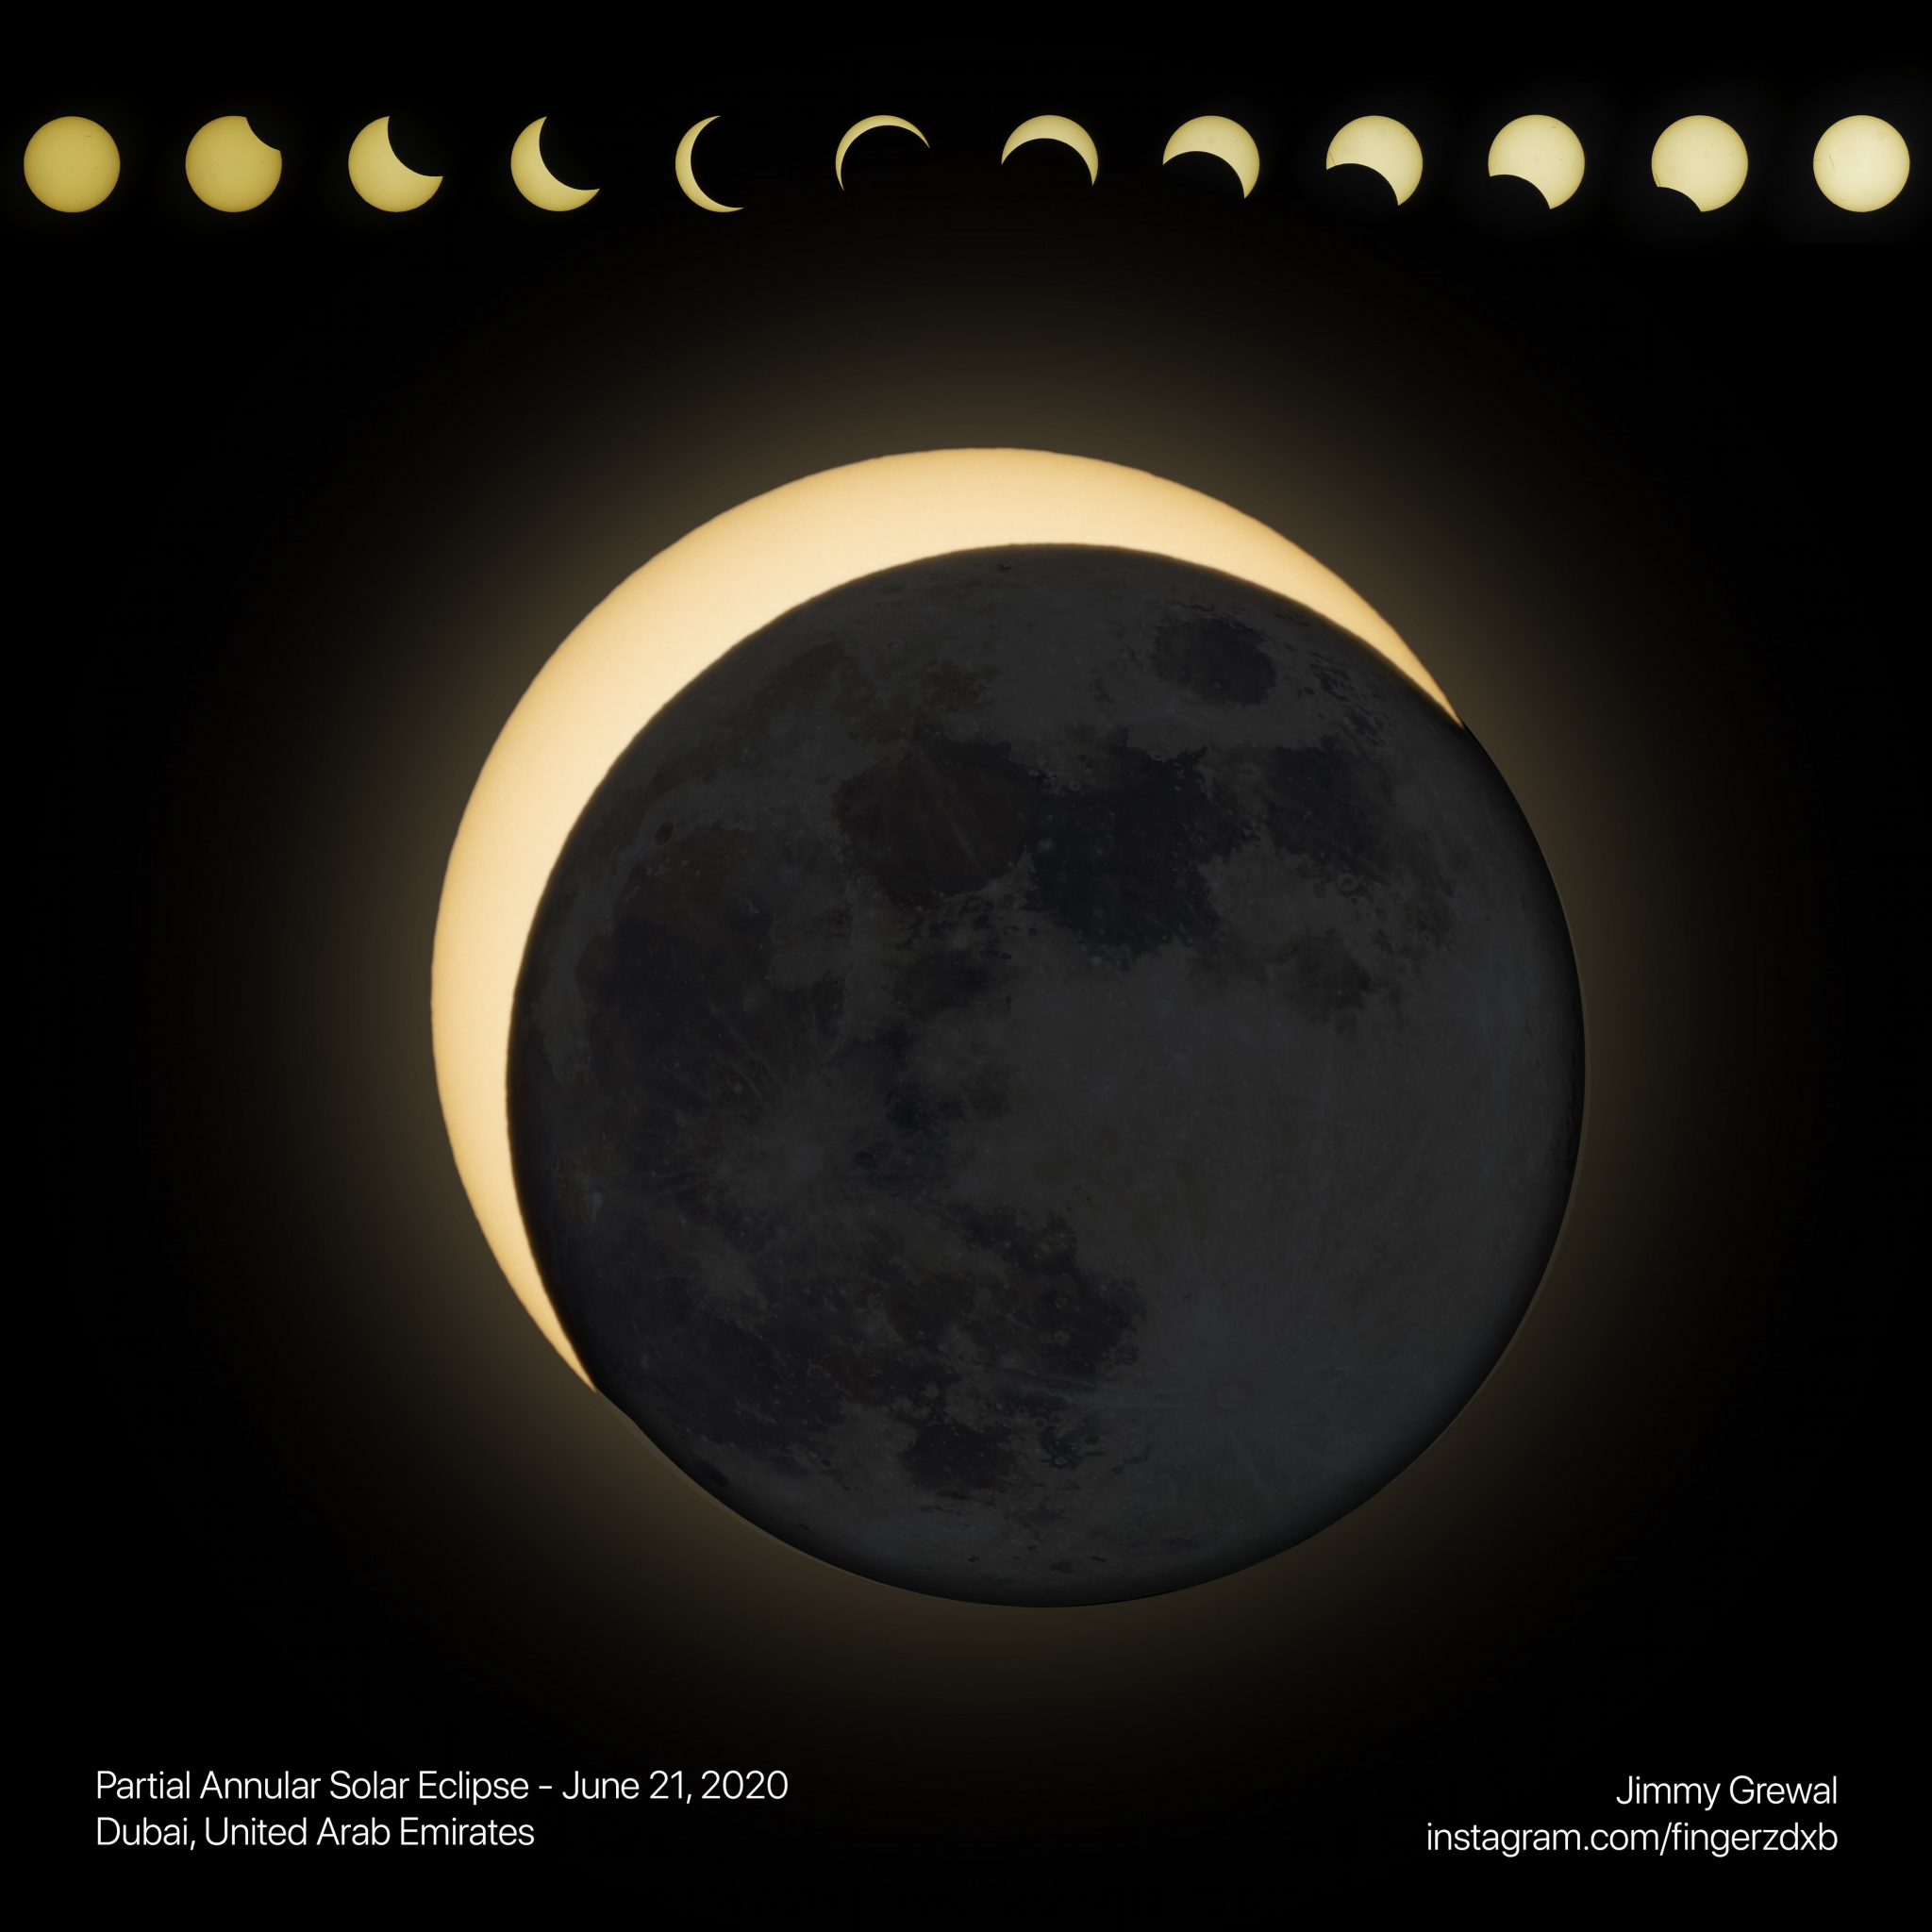
In addition to photographing the night sky, I had the opportunity to photograph a partial solar eclipse in June. It was more challenging than I expected, and I wasn’t as well prepared as I thought I was. Some of the assumptions I made regarding camera settings, using a WiFi connection to control the camera from inside the house, and the extreme summer heat meant that I missed some of the photos I hoped to capture. Having said that, I’m still pleased with the final result and am looking forward to photographing a total solar eclipse at some point in the future.
Late last month (July 2020), I finally had the opportunity to photograph two things that I have always wanted to capture: the Milky Way and a comet. In fact, I was able to photograph both on the same night, again from the Al Qudra Desert not far from my house. In both cases, this was not the ideal location to shoot from. Al Qudra is too close to downtown Dubai to have the totally dark skies that Milky Way photographers seek out. The other challenge was that this was one of the last days that comet Neowise would be bright enough to photograph “easily” and as it turned out the dust and city glow on the horizon were worst than I had hoped.
Nevertheless, the ends result in both cases was a pretty good first attempt…if I do say so myself. The experience has rekindled my interest in Astrophotography and I’m looking forward to the next moonless night later this month to try and photograph the Milky Way again. The ideal location in the UAE is the Al Razeen area of Abu Dhabi, but COVID-19 related travel restrictions between Dubai and Abu Dhabi remain and I’ll have to make do with some of the dark sky spots here in the Northern Emirates for the time being.
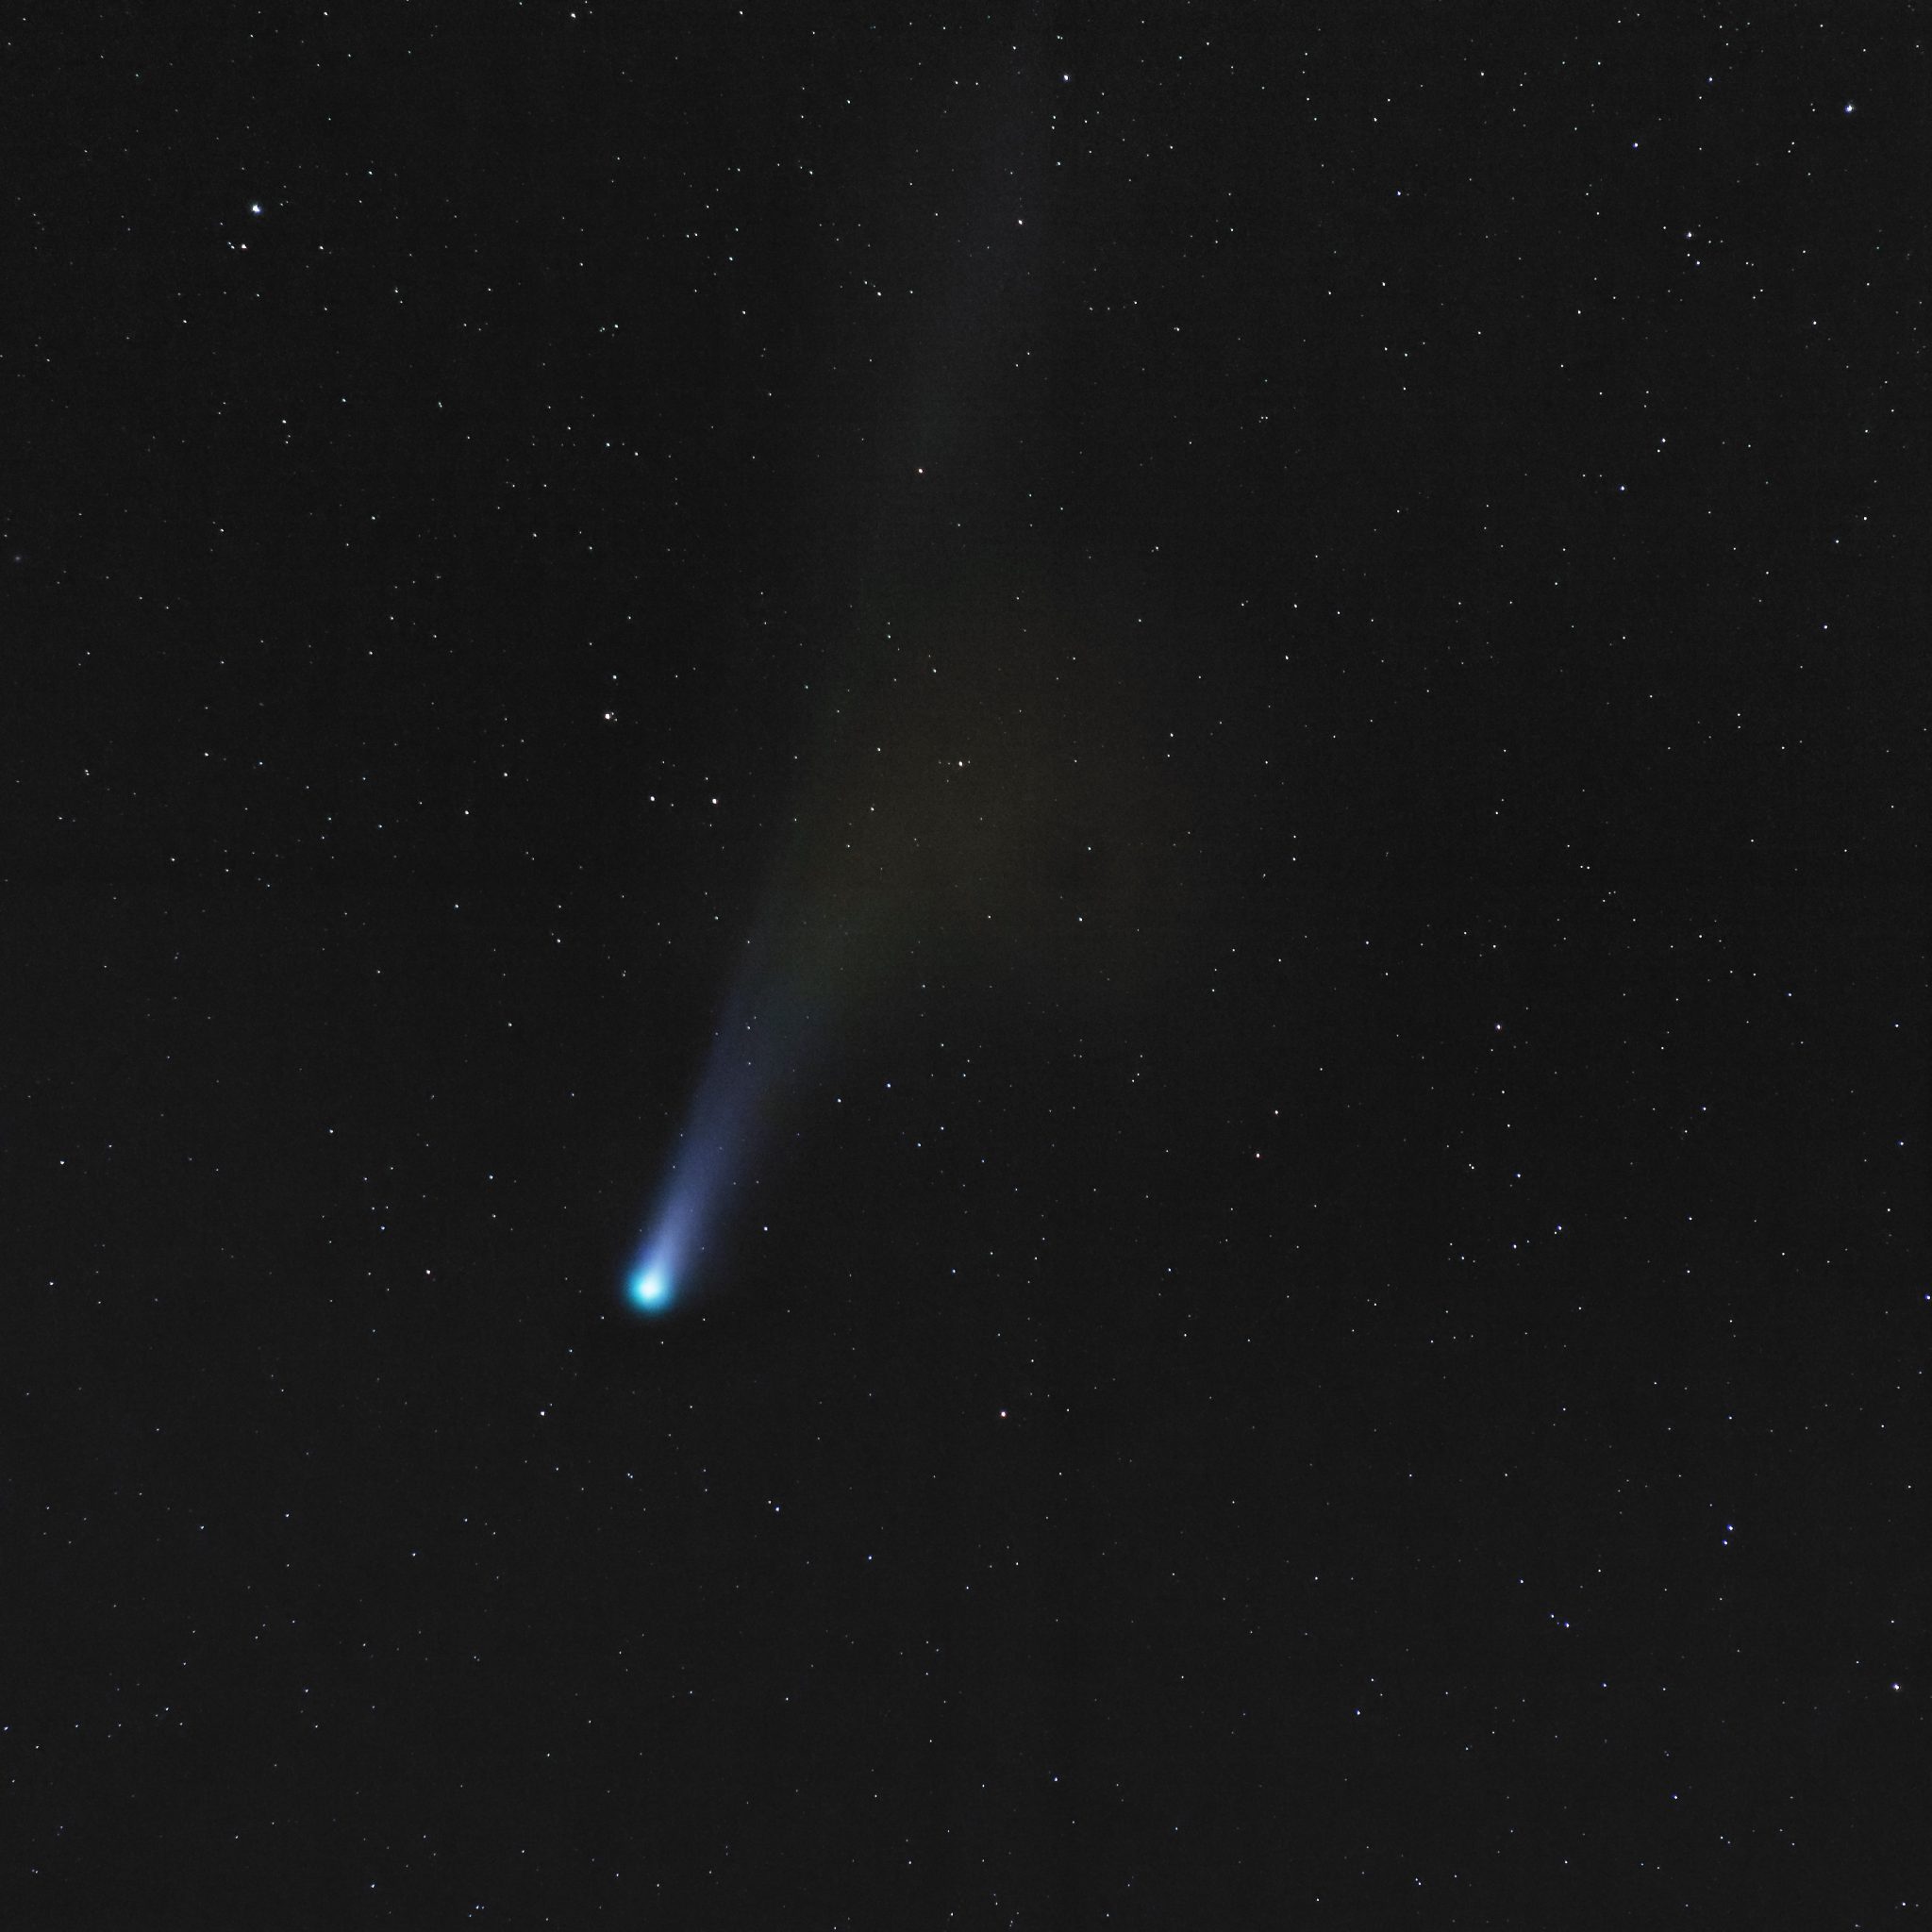
A composite image of 30 exposures of 30 seconds each of Comet Neowise 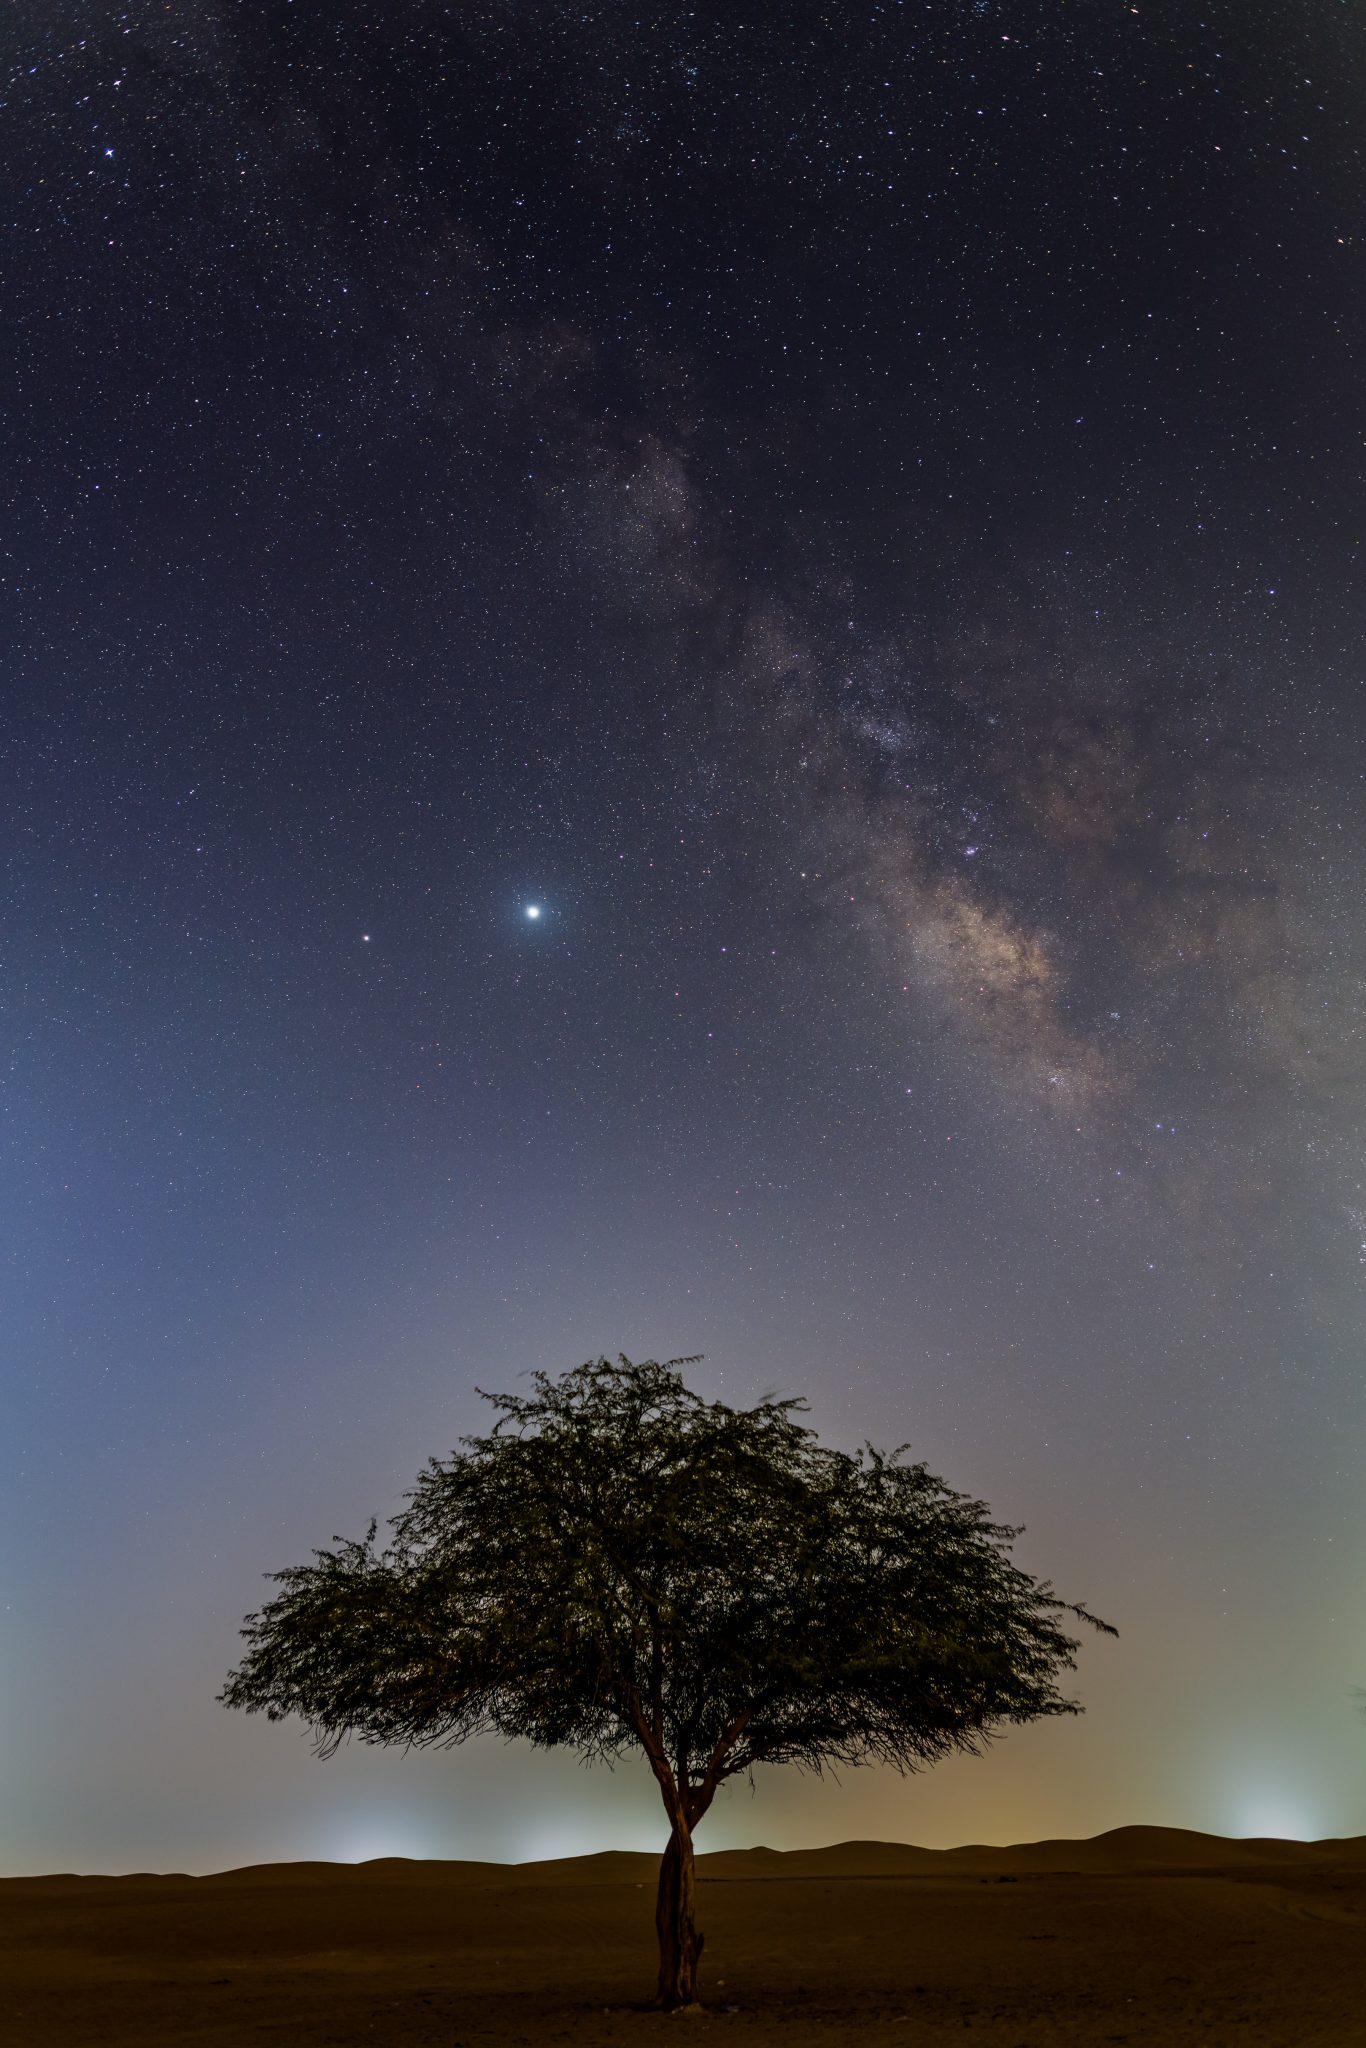
A composite image made from 10 exposures of 10 seconds each of the Milky Way, Jupiter, and Saturn


 L16 Images & Workflow